
Viz World Classic User Guide
Version 23.0 | Published December 12, 2023 ©
Working with Street Maps
Viz World Classic allows you to import street data for towns and cities, to create maps from the whole world down to a single street corner or building. The Street Data format is supplied and configured with appropriate labels for each of the features, and so using it is simply a matter of adding it to your map. Viz World Classic also supports map data in ESRI Shape File format; for more information see the Working with ESRI Shape Files section.
This section contains information on the following topics:
Using Street Data
A wide range of street data designed especially for use with Viz World Classic is available for most parts of the world from Vizrt.
For more details, and to order, please contact your local Vizrt representative.
Loading Street Data
To use street data for a particular town or city you first need to install the street data into an appropriate directory on your disk, and then add a license for the data. For more information about adding a license see the Installing Viz World Classic section.
This section contains information on the following procedures:
To Specify the Location of Street Data
When you install street data it is copied to the Street Data location specified in the Options dialog box. This is initially set to a default location, but you can change it as follows:
-
On the View menu, click Options..., then click the Locations tab to display the Locations panel of the Options dialog box. The Street Data field shows the directory used for street data files.
-
Click the corresponding Browse... button and select the appropriate location to change the directory used for street data files.
To Load Street Data
-
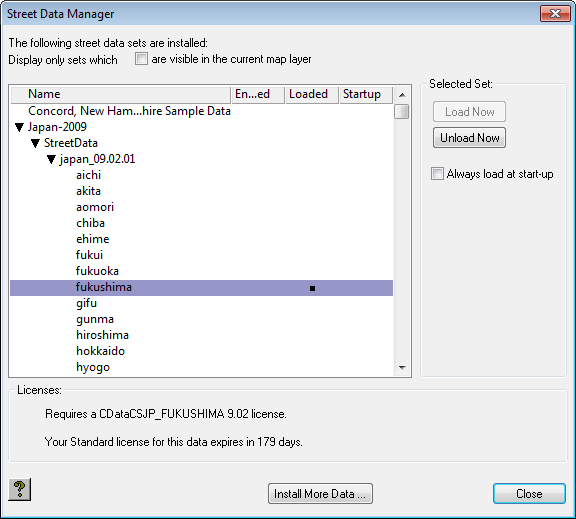
On the Import menu, click Street Data... The Street Data Management dialog box shows the street data sets you have available:
-
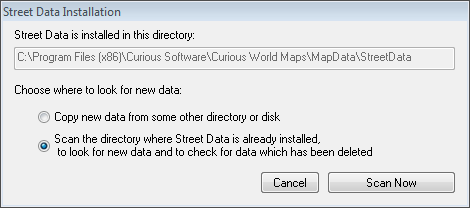
Click the Install More Data... button to install additional street data sets from disk or CD-ROM, or by scanning the street data directory for new data. The following dialog box is displayed:
-
Either select Copy new data from some other directory or disk, click the Choose Folder button, and locate the source of the new data.
-
Or select Scan the directory where Street Data is already installed ... to automatically locate new data. Then select the data set you want to load and click the Load Now button.
Tip: You can also select Always load at start-up to load the specified street data each time you run Viz World Classic.
-
-
Repeat for any other street data sets you want to load.
-
Click the Close button to close the dialog box.
To Use Street Data
-
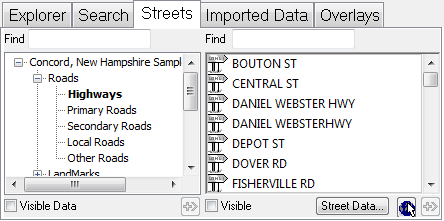
Click the Streets tab in the map layer Contents panel to display the street data sets you have loaded.
-
Select the street data set in the left list to show the features it contains:
-
Select which features you want to display from the pop-up menu below the features list. This includes different road categories, railways, rivers and lakes, and a range of other urban features.
To Display Street Data
-
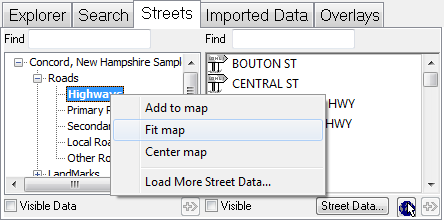
Click the street data set name with the right mouse button and click Fit map on the pop-up menu. The street data is drawn, scaled to fit within the image window:
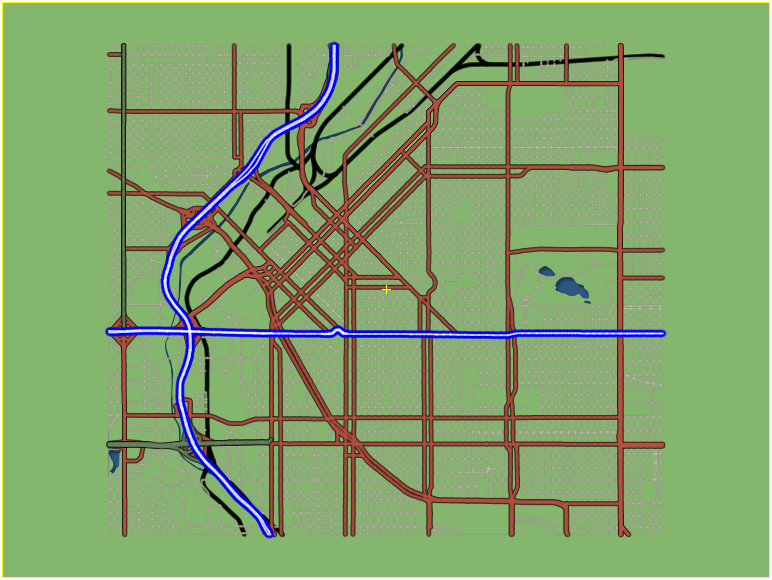
Note: The style sheet specified for the map layer determines which lakes, rivers, roads, and railways are drawn on the map. You can override this for the current map layer by clicking the Map Features button in the top right corner of the Contents panel.
To Highlight Individual Features
You can add a feature to the Details list so you can modify its appearance, to highlight it on the map.
Either:
-
Select the feature in the features list and click the Add Feature To Details button.
Or:
-
Click the feature with the right mouse button and click Add to map on the context menu:
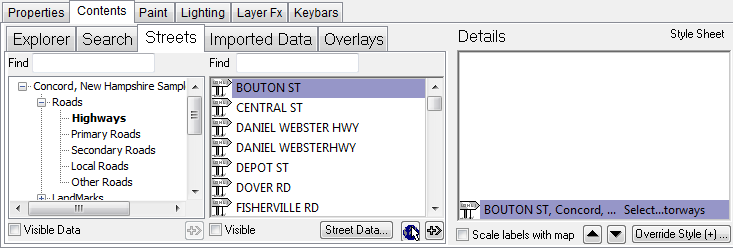
Area features, such as lakes and parks, are initially drawn with a label. Line features, such as roads and rivers, are initially drawn unlabeled. You can add a label at a specific position as described in the next section.
To Label a Feature

-
Select the Browse Street/Shape Data tool. As you move this over the map a tool-tip shows you the name of each street data feature:

-
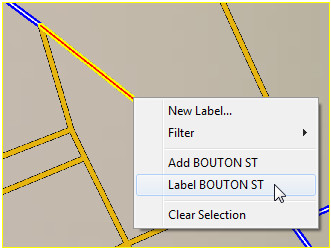
Click with the right mouse button and choose the appropriate label option from the pop-up menu:
-
Add: Adds the feature without a label, so you can highlight it by editing its style.
-
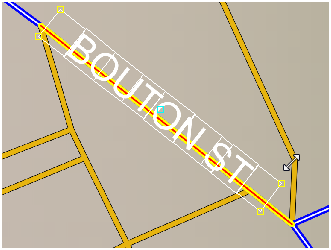
Label: Adds the feature with the label positioned at the point you clicked. If you are labeling a line feature the label will be drawn aligned with the direction of the feature.
-
-
Use the Text tool to move or rotate the label as desired.
Tracing Street Data
You can use the shape tools to trace street data in order to add lines and area shapes to your street maps.
For example, you could trace streets to draw a line shape showing the route of a carnival. Alternatively, you could trace an area of a city to create an area shape showing a proposed traffic-free zone.
See Also