The Navigator allows you to select which part of the map is displayed in the image area.
This section contains information on the following procedures:
To Choose a View
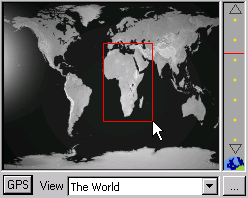
Drag across the Navigator to draw a rectangle enclosing the area of the world you want to display.
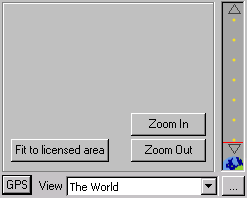
To Change the View
-
Drag a corner of the rectangle to resize it.
-
Hold down CTRL and drag the rectangle to move it.
-
Move the scale control, to the right of the Navigator, to enlarge or reduce the size of the rectangle.
To Choose a Preset View
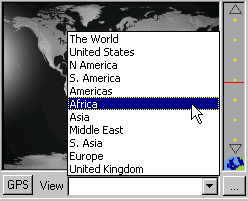
Choose a preset view from the View context menu.
To Define a Preset View
-
Define the view you want to save.
-
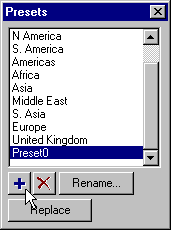
Click the … button to the right of the Navigator View menu. The Presets dialog box displays:
-
Click the + button. A new preset is created with a default name, such as Preset0.
To Edit the Name of a Preset
-
Select the preset in the Presets list.
-
Click the Rename... button.
To Delete a Preset
-
Select the preset in the Presets list.
-
Click the X button.
To Enter a GPS Location
-
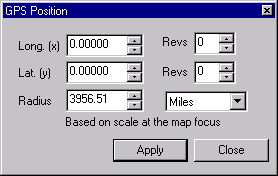
Click the GPS button below the Navigator. The GPS Position dialog box (depicted above) is displayed to allow you to specify that the map should be centered at a particular longitude and latitude.
-
Enter the longitude and latitude in the Long. and Lat. fields. Longitude and latitude values can either be entered in decimal degrees, such as 20.175, or in degrees, minutes and seconds, such as 20d10m30s.
-
Optionally enter the amount of the Earth’s surface you want to display in the Radius field. For creating animations of a revolving globe you can optionally enter a number of revolutions in the Revs fields.

