Configuration
First of all you have to to enable the Viz Arena panel:
-
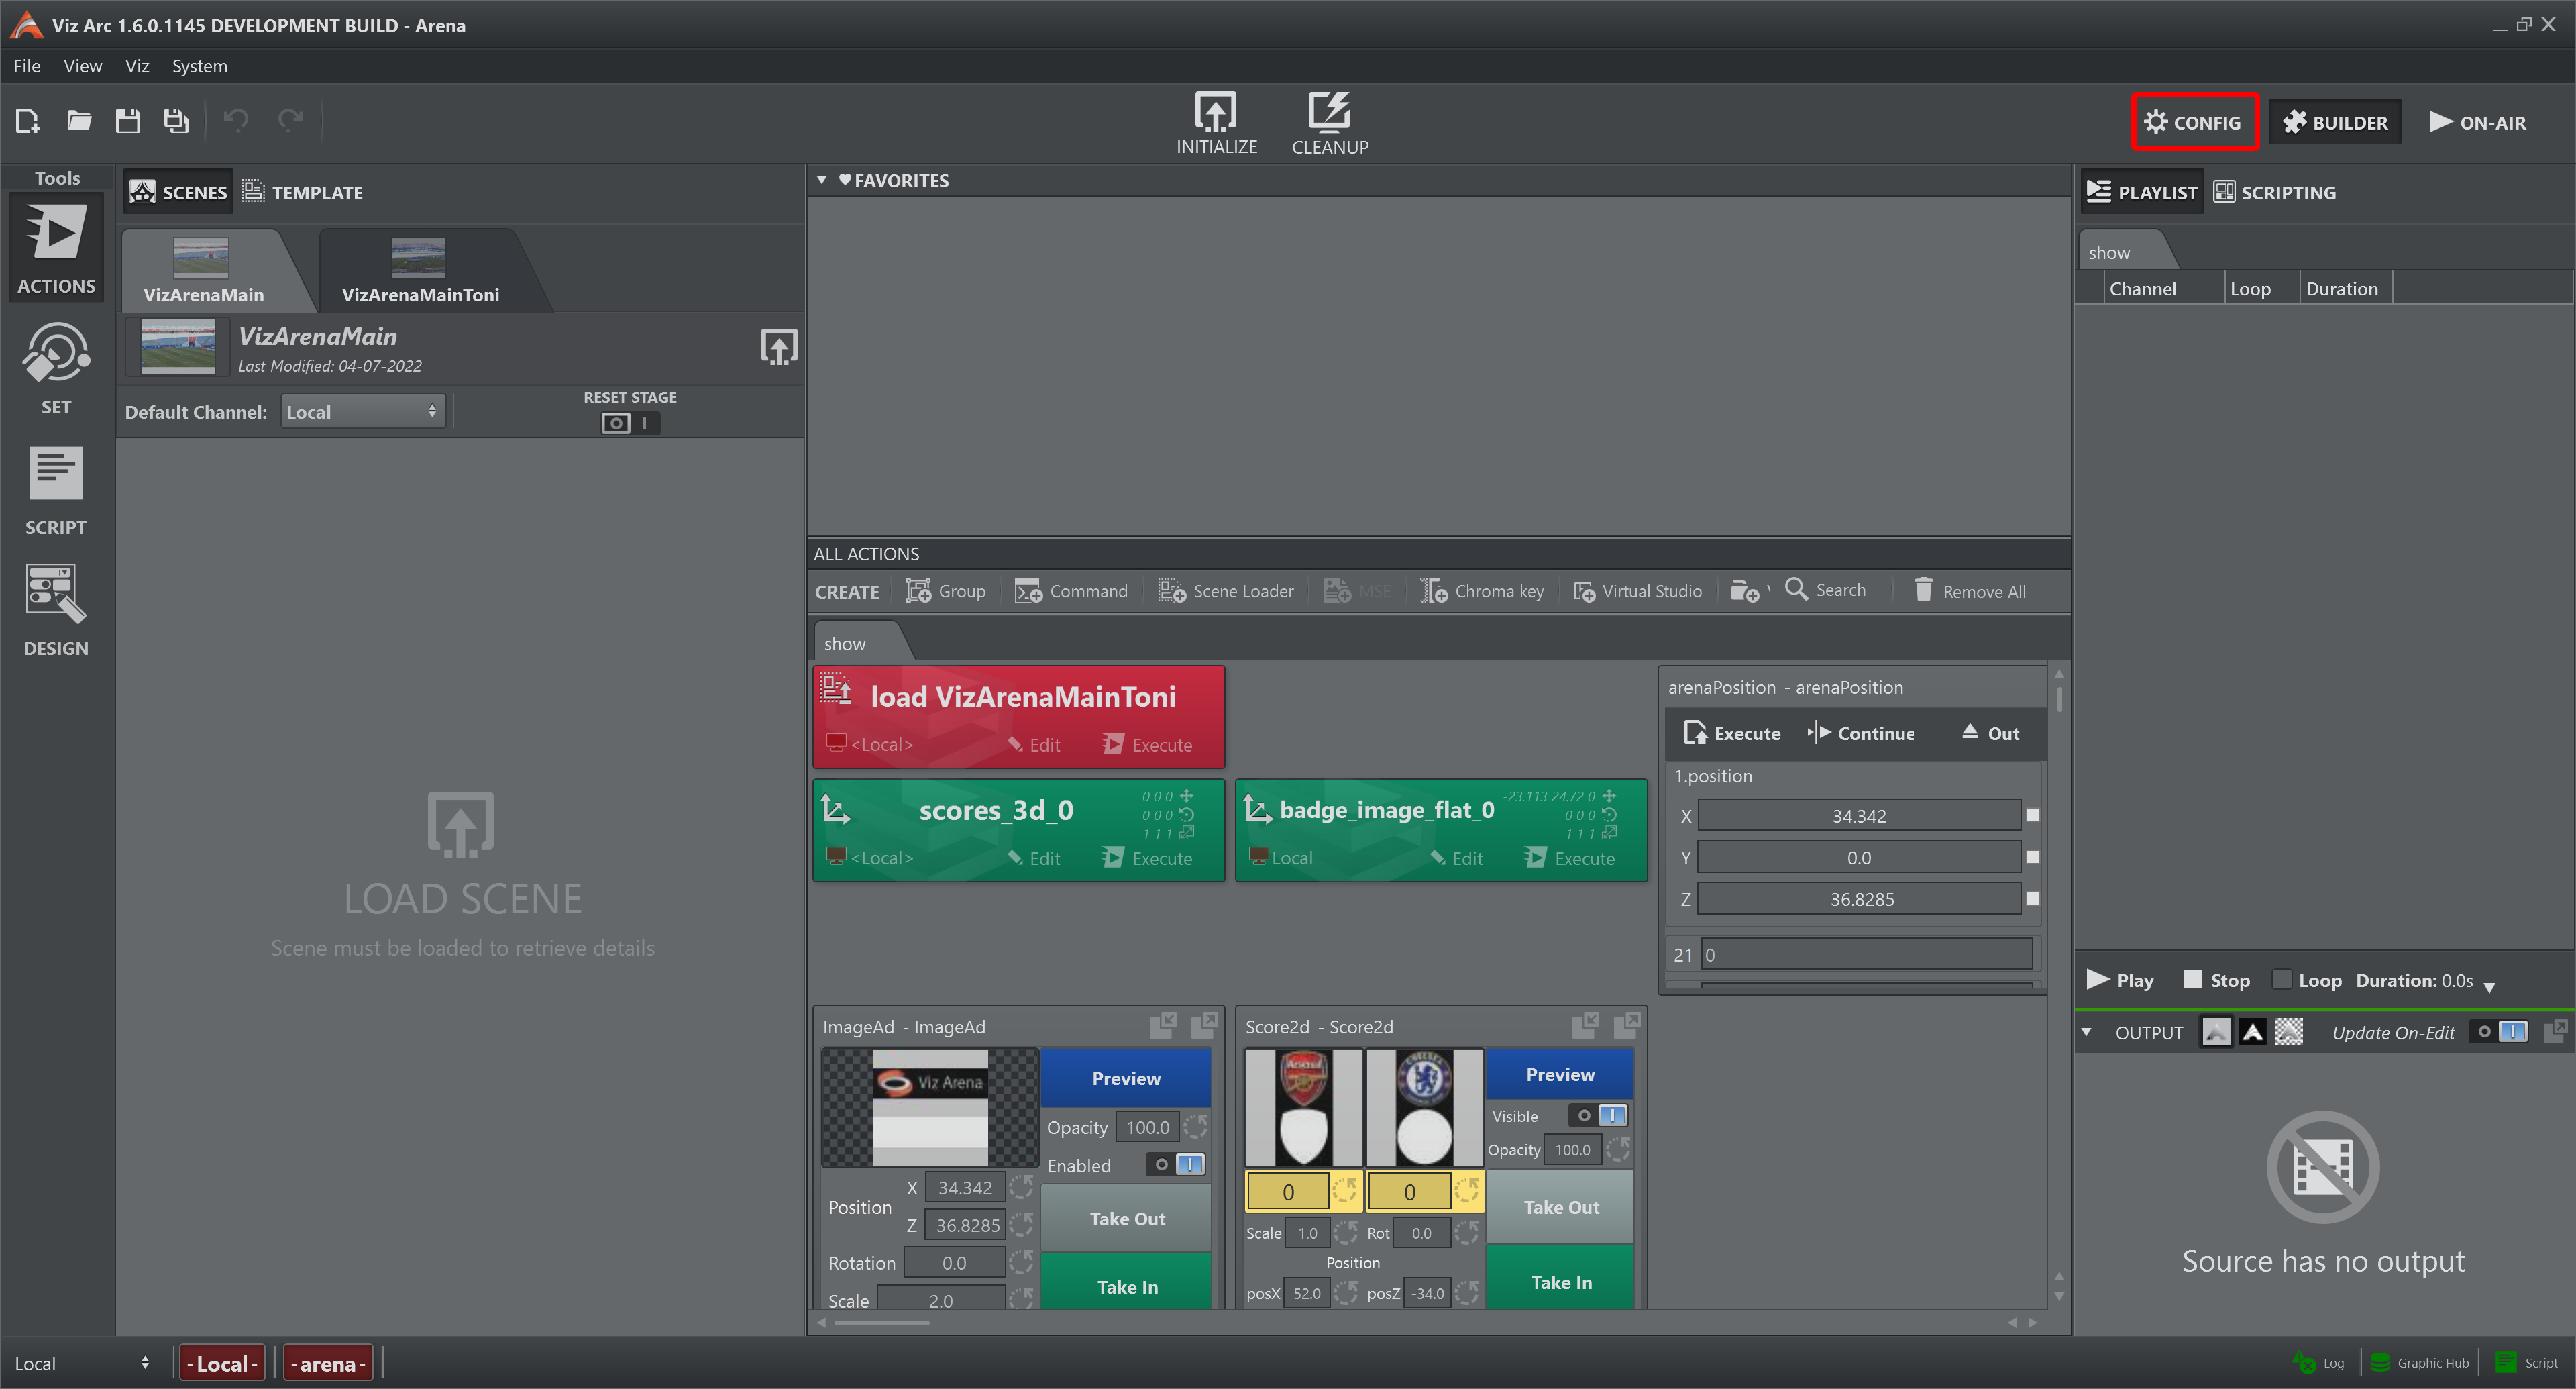
Go to the Viz Arc Configuration.
-
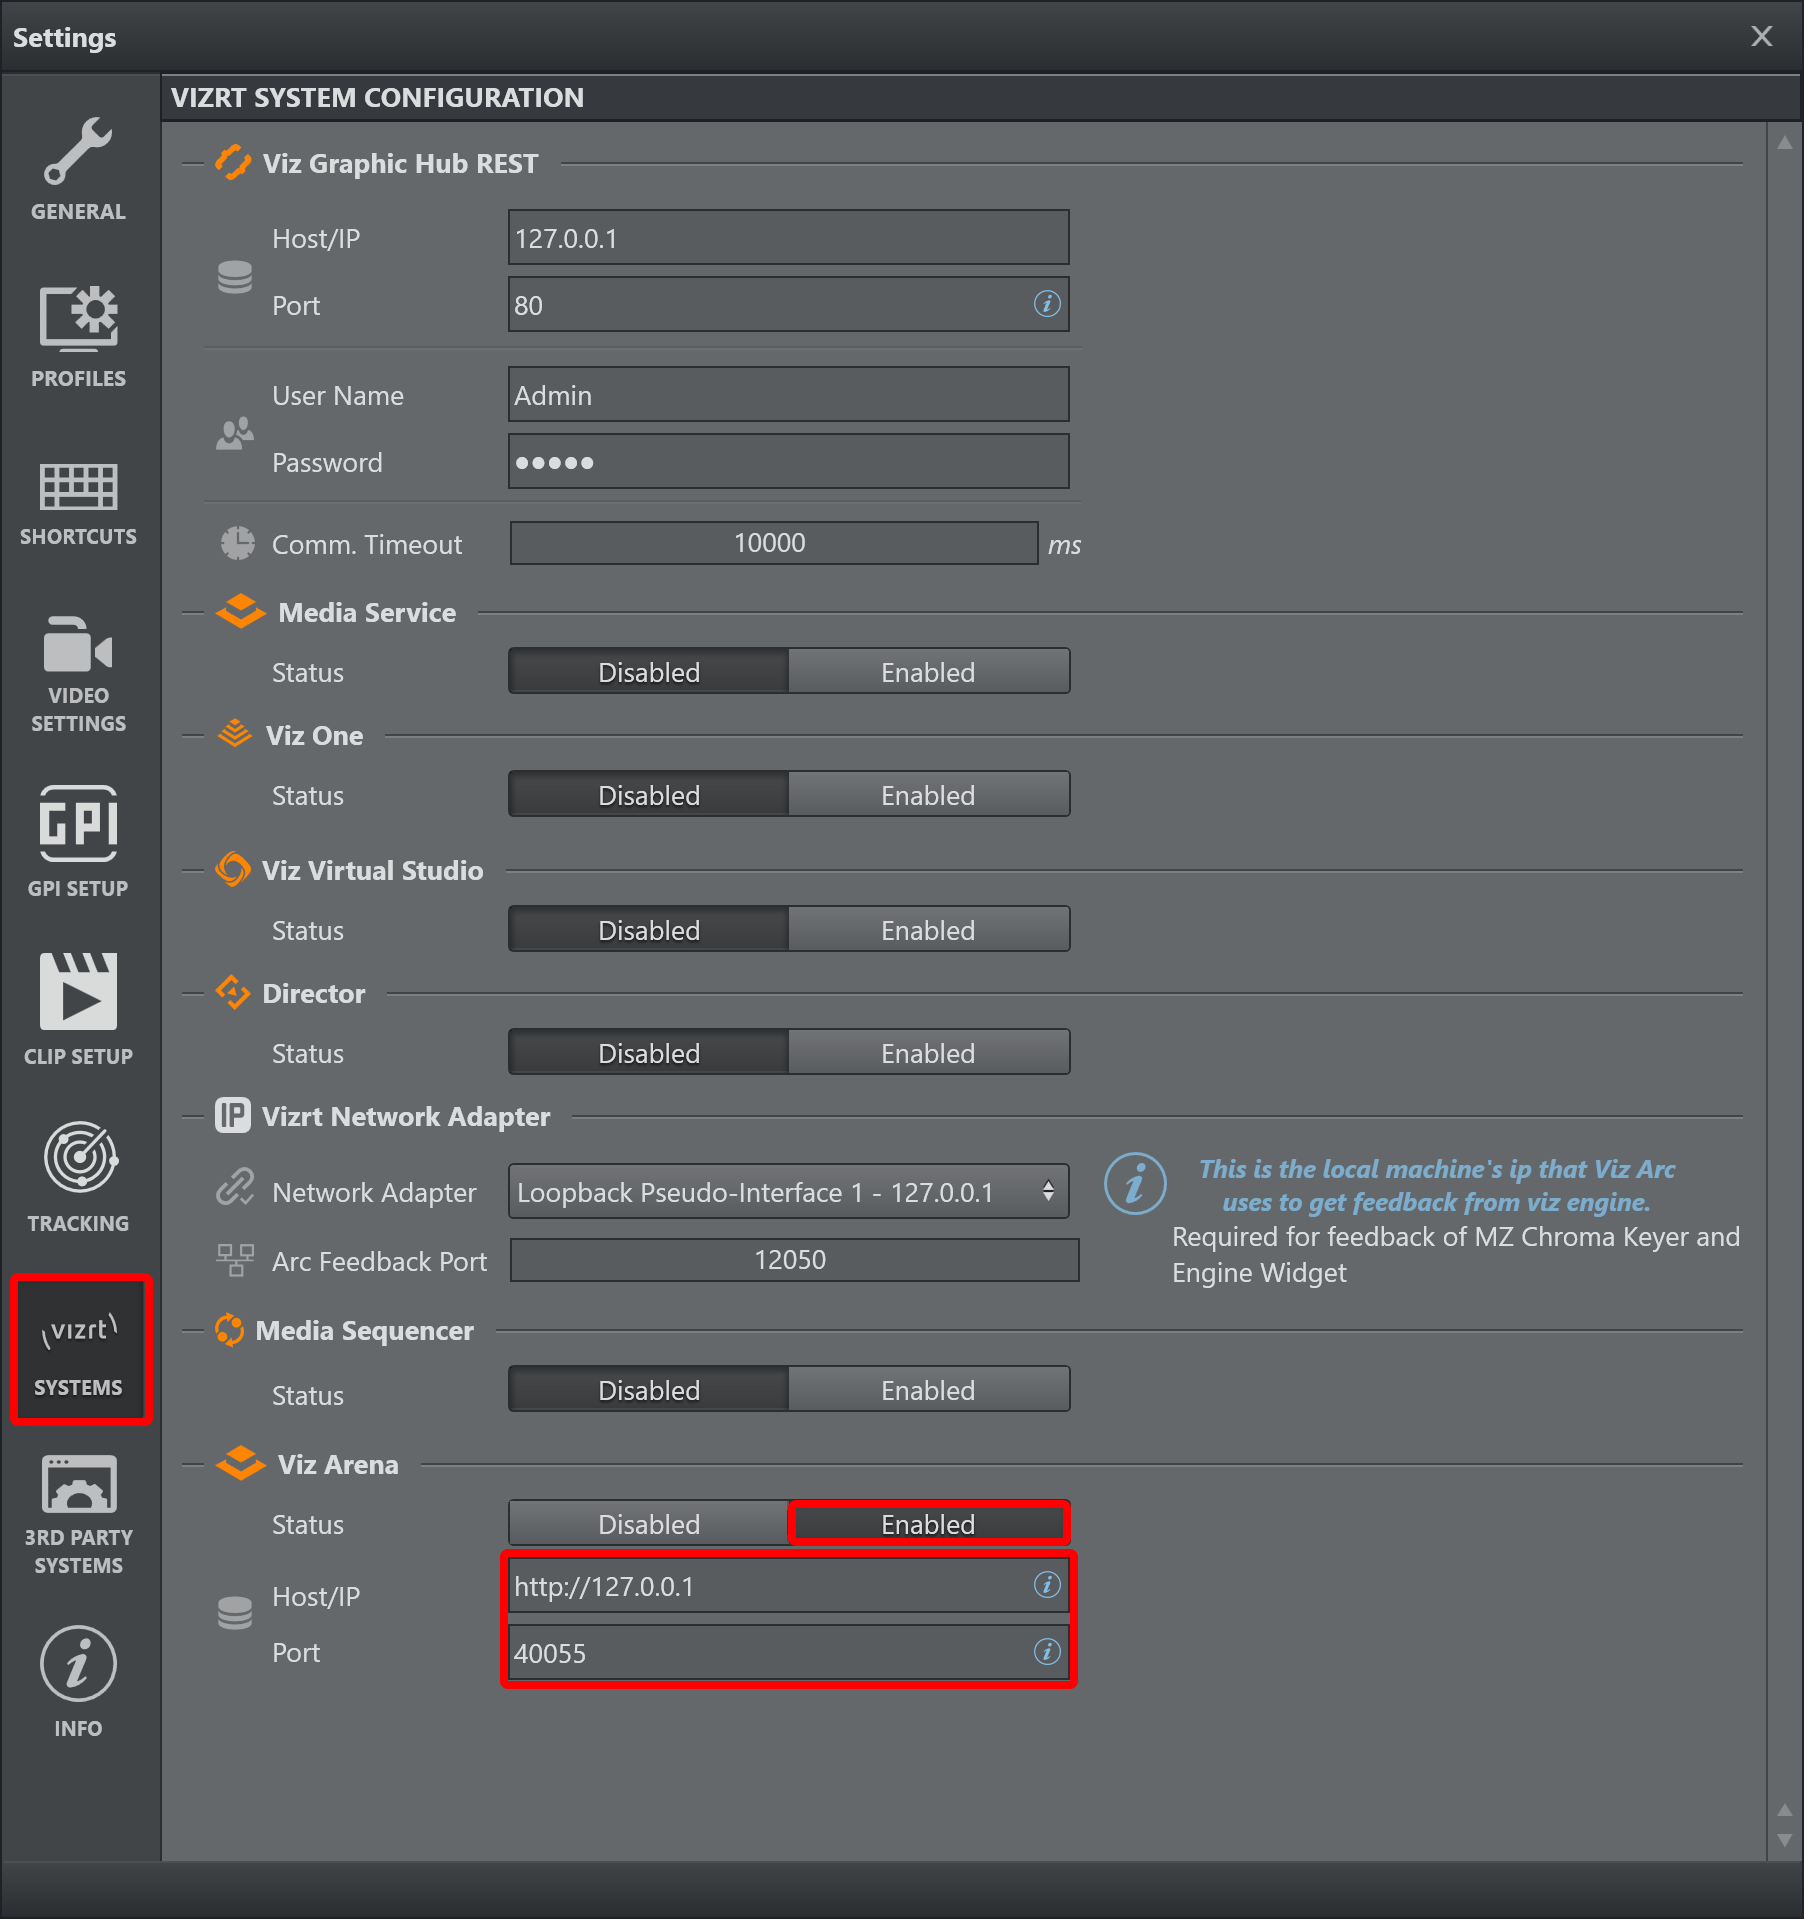
Select the Vizrt System tab and press Enabled on Viz Arena.
-
Insert the correct IP address of the workstation where Viz Arena resides and the port of the API server.
The Viz Arena status icon is located in the status bar (on the bottom right).

It turns green after a while if the IP address and port inserted are correct, otherwise it remains red.
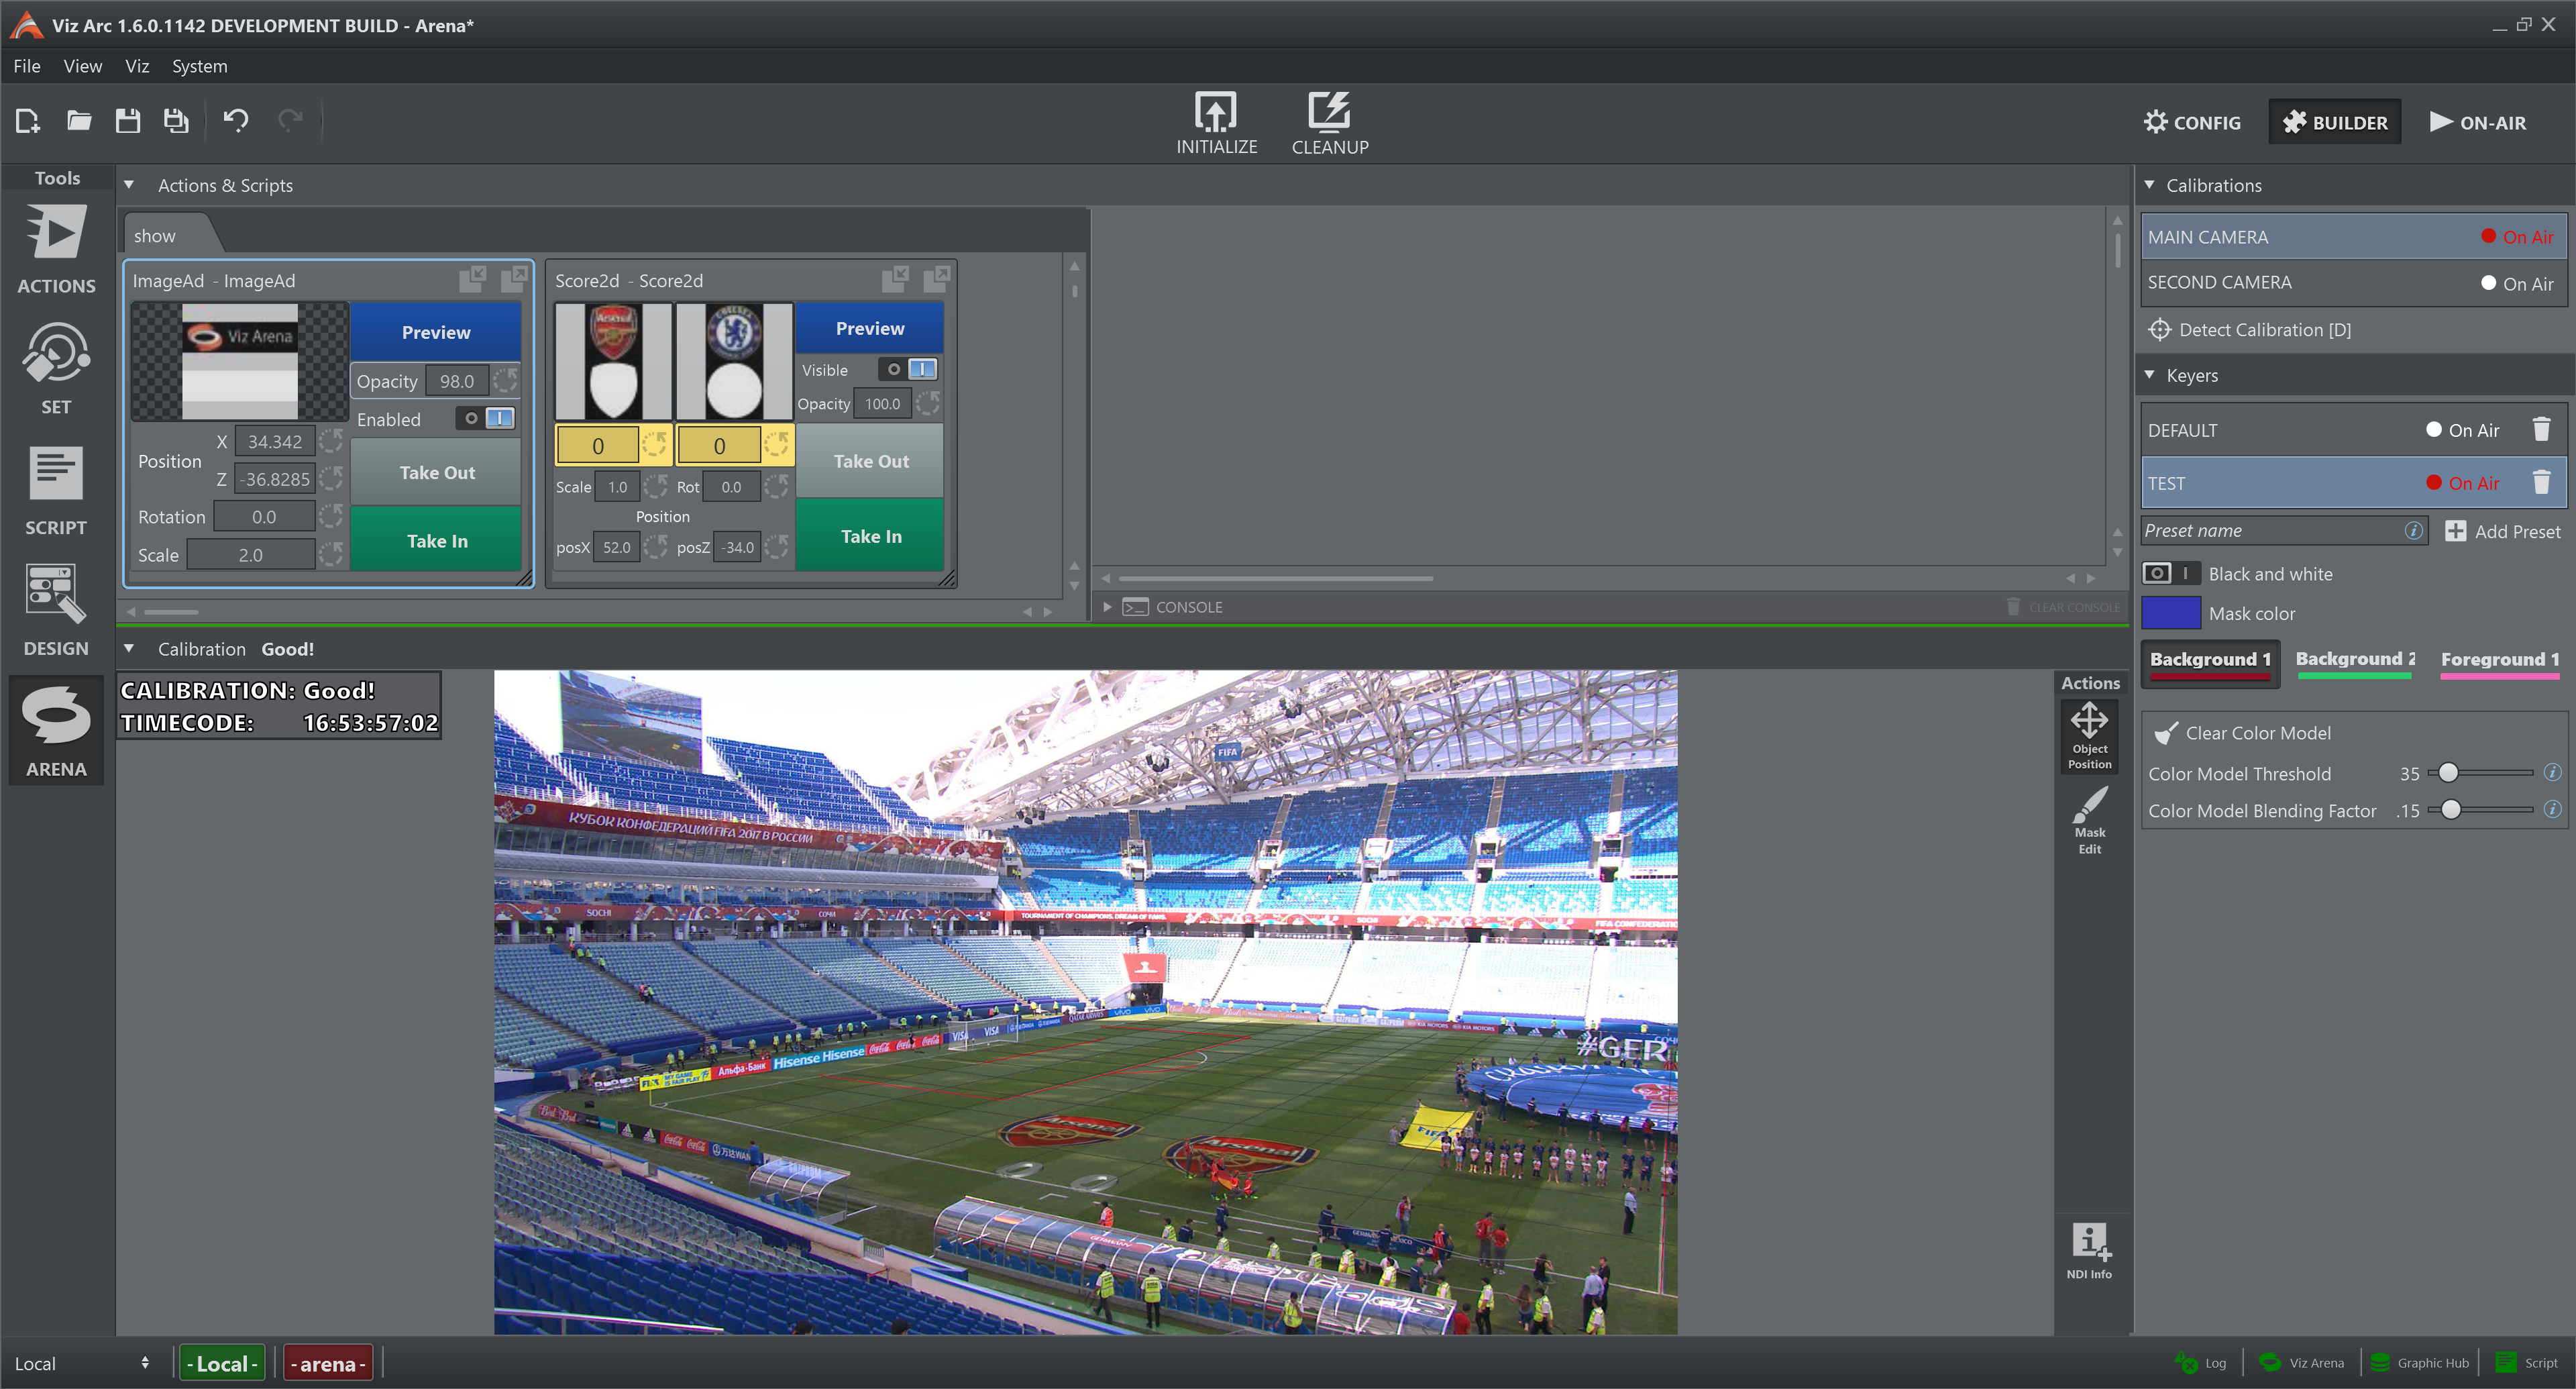
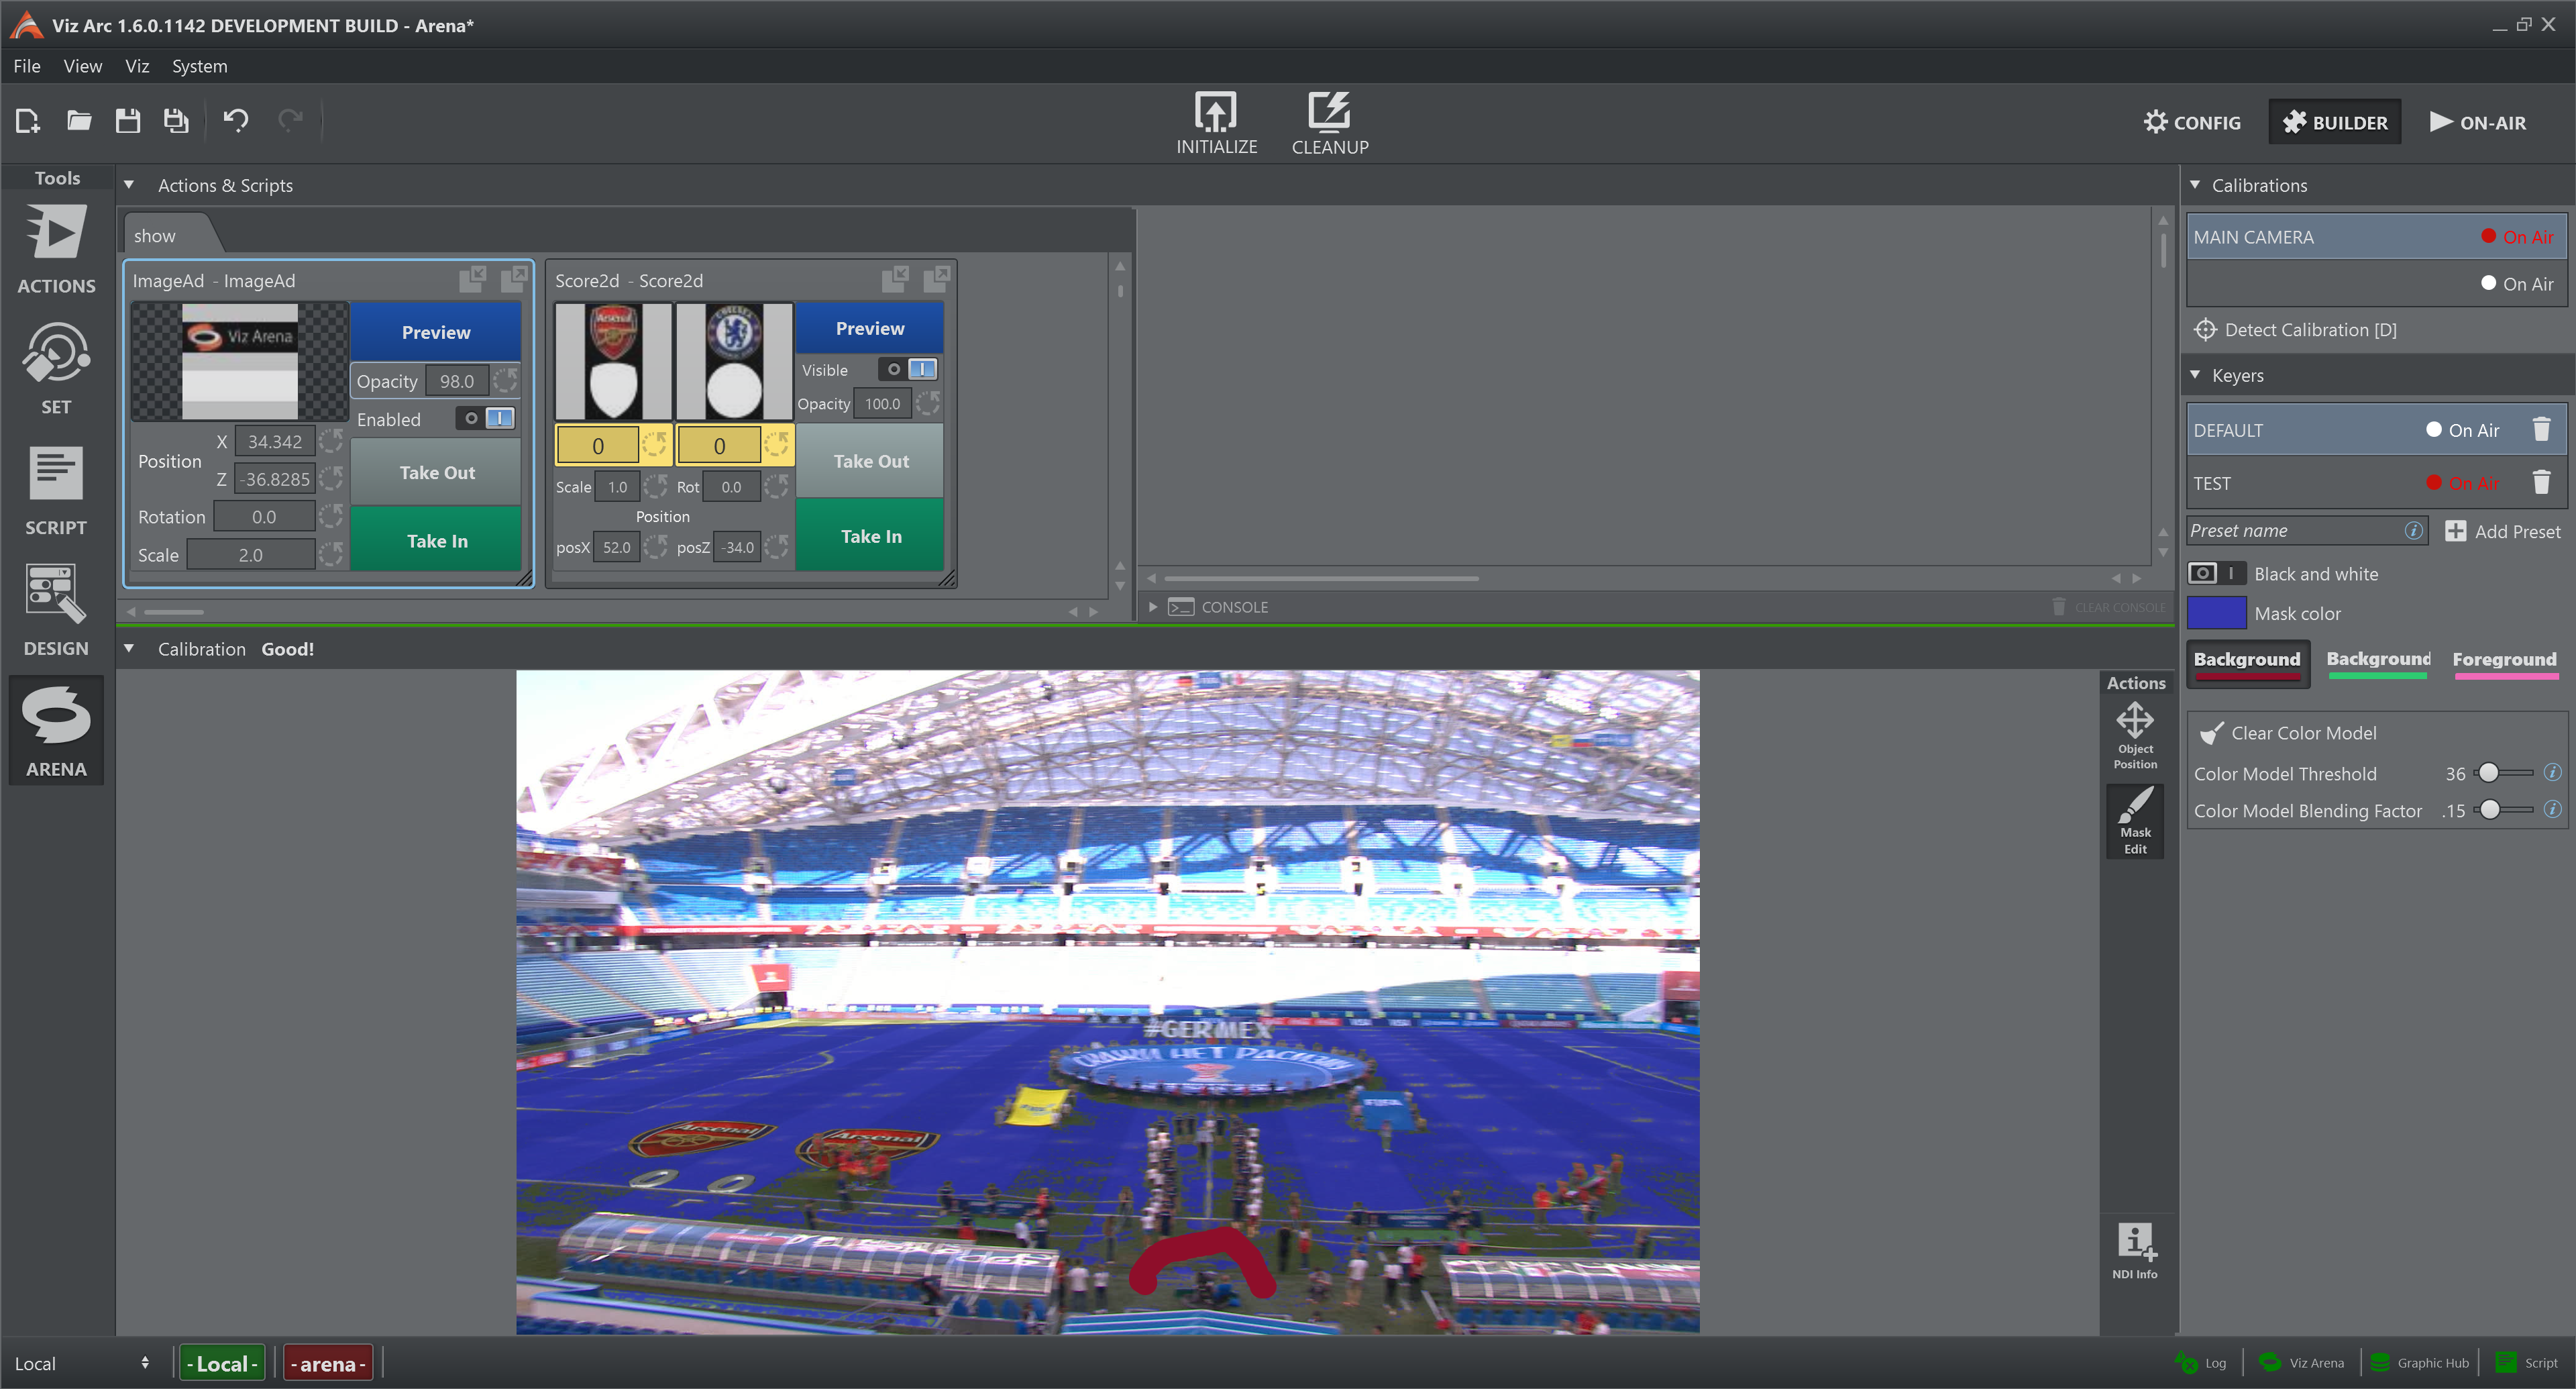
Now it is available to press the Arena button on the "Tool toolbar" (on the leftmost portion of the window), the interface looks similar to this:
Features
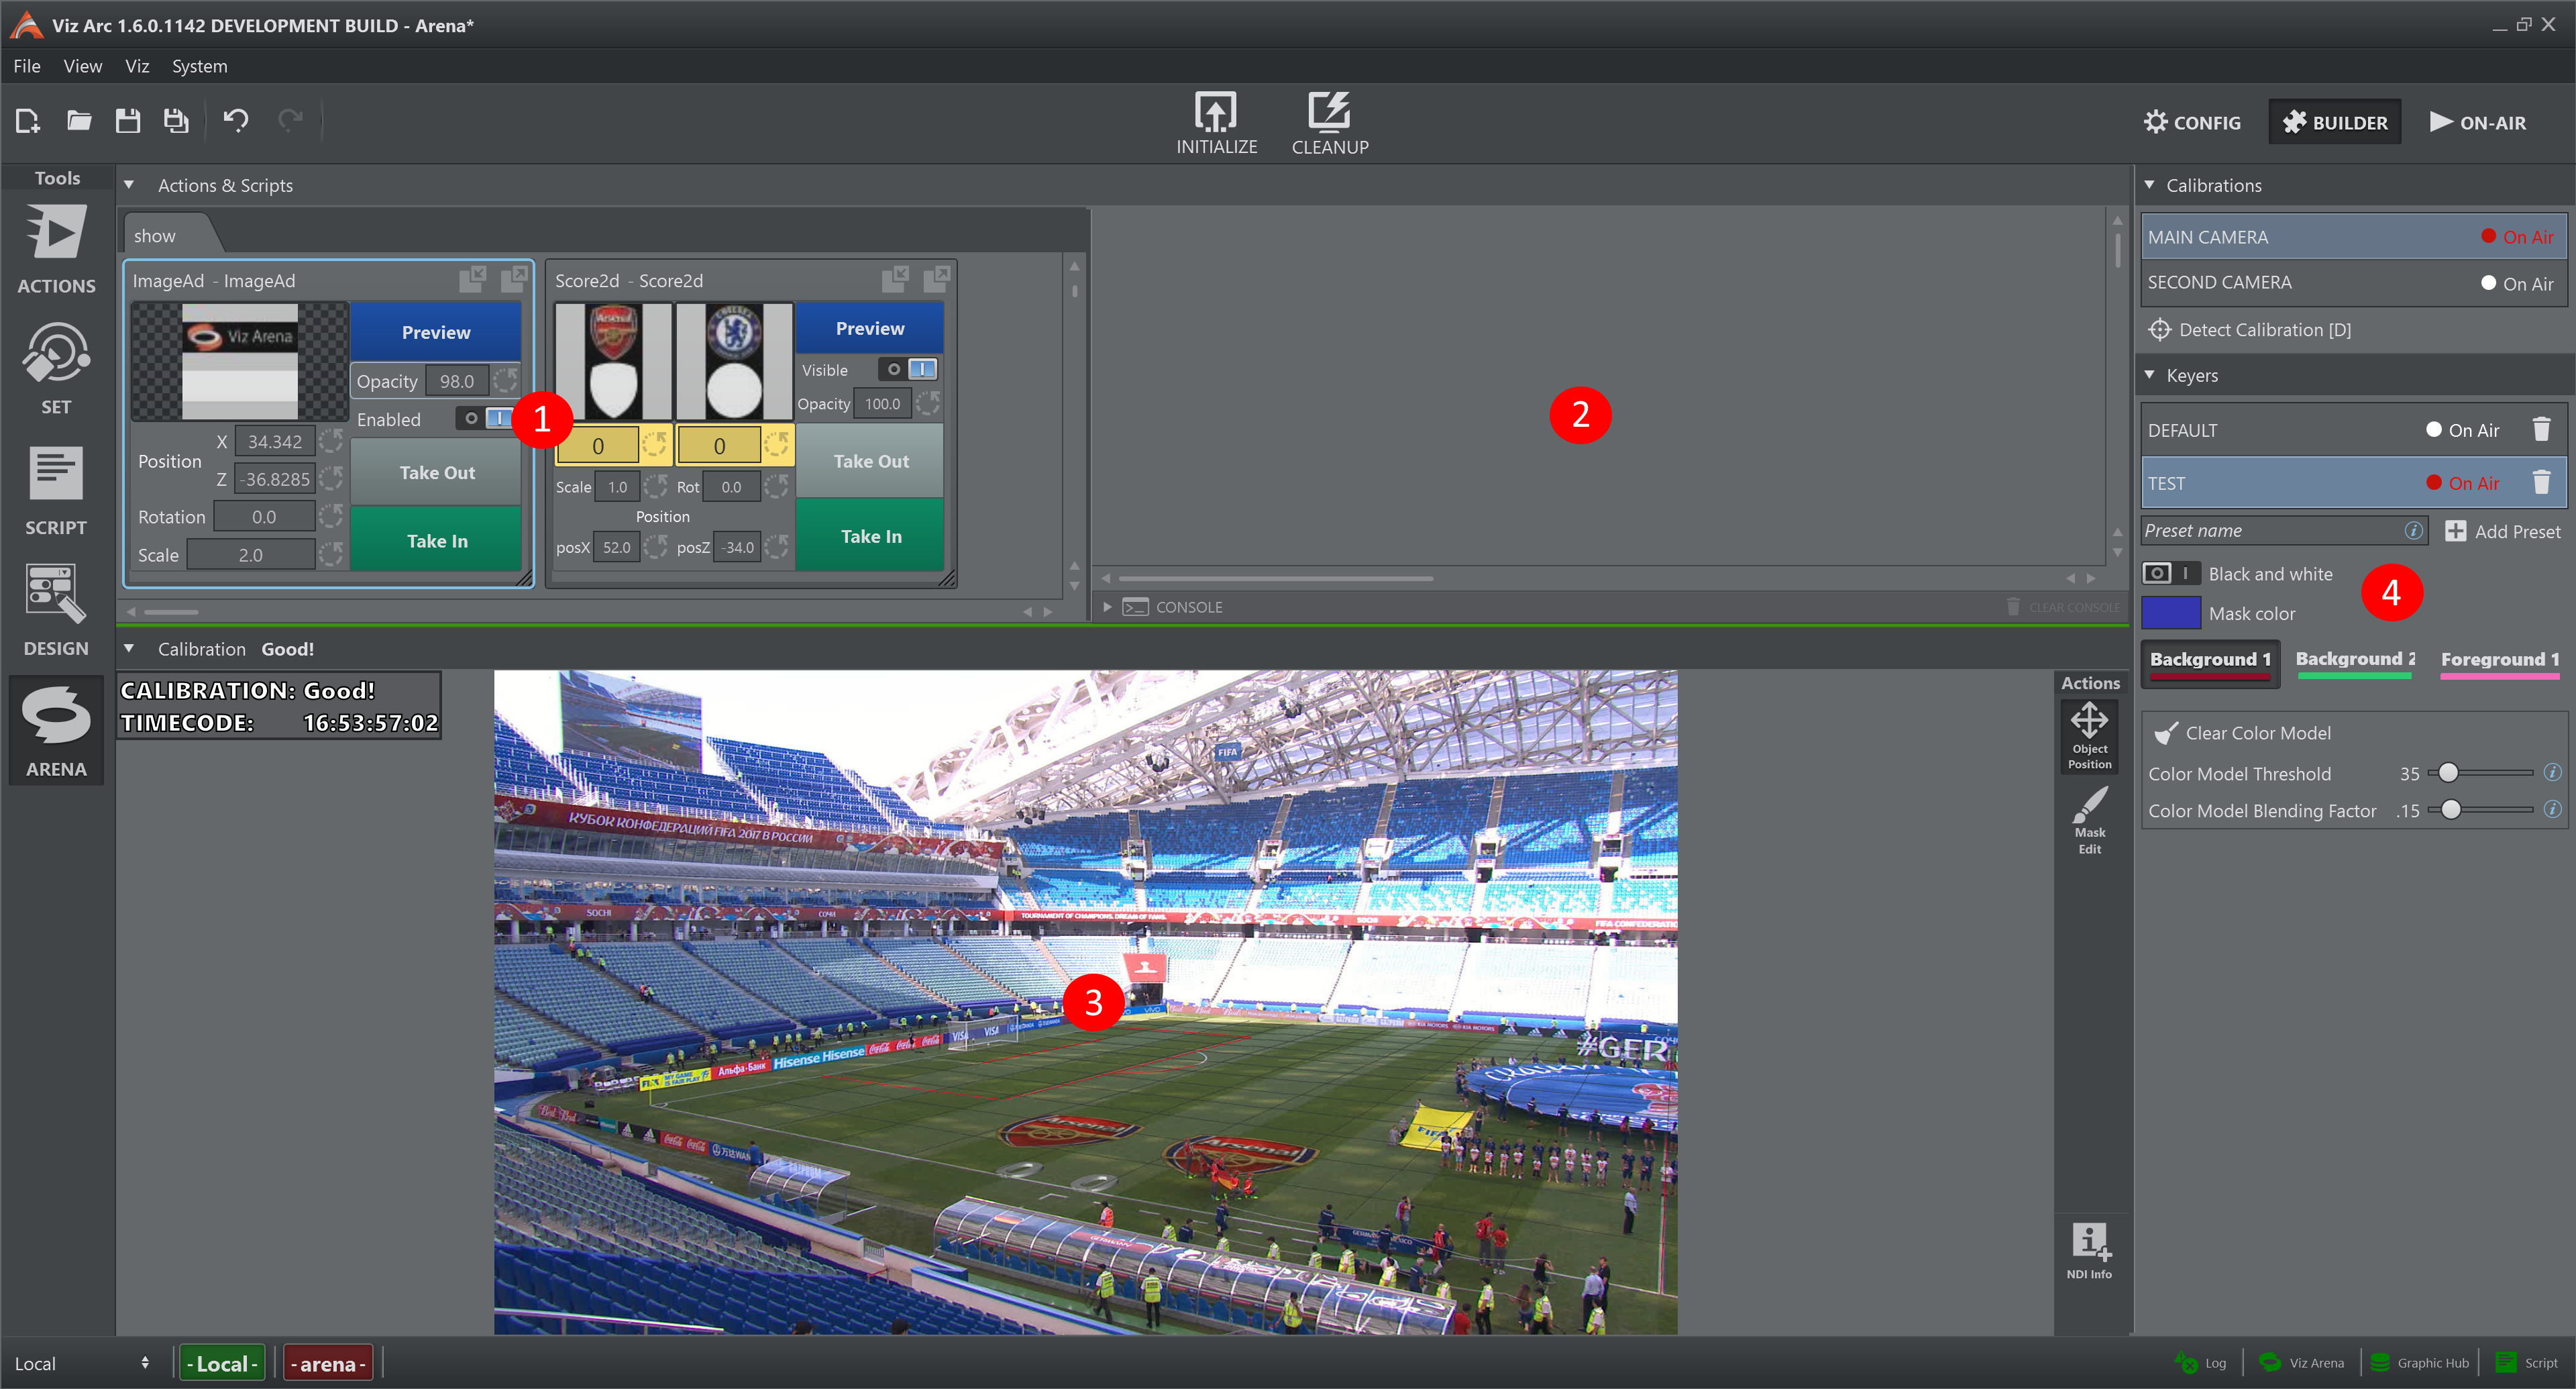
The Arena tab presents multiple features:
-
Actions panel (1), see Actions View for further information
-
Script panel (2), see Script View for further information
-
Output view panel (3)
-
Settings panel (4)
Output View
The Output View shows the NDI stream, both video and metadata, provided by Viz Arena. Since it is very important to see any changes of the calibration status, at the very top of the view there is line that show its current value:
Actions
Object Position
This action enables to position any selected control object (in the Action Panel) on the field (see image above). As a visual aid, the cursor turns into a cross when over the output view.

Mask Edit
This action enables to adjust the color model used for calibration and by the Viz Engine for keying during a live game. Add brush strokes to improve the classification of the foreground and the background to refine the color model.
This action also turns on the visualization of the mask:
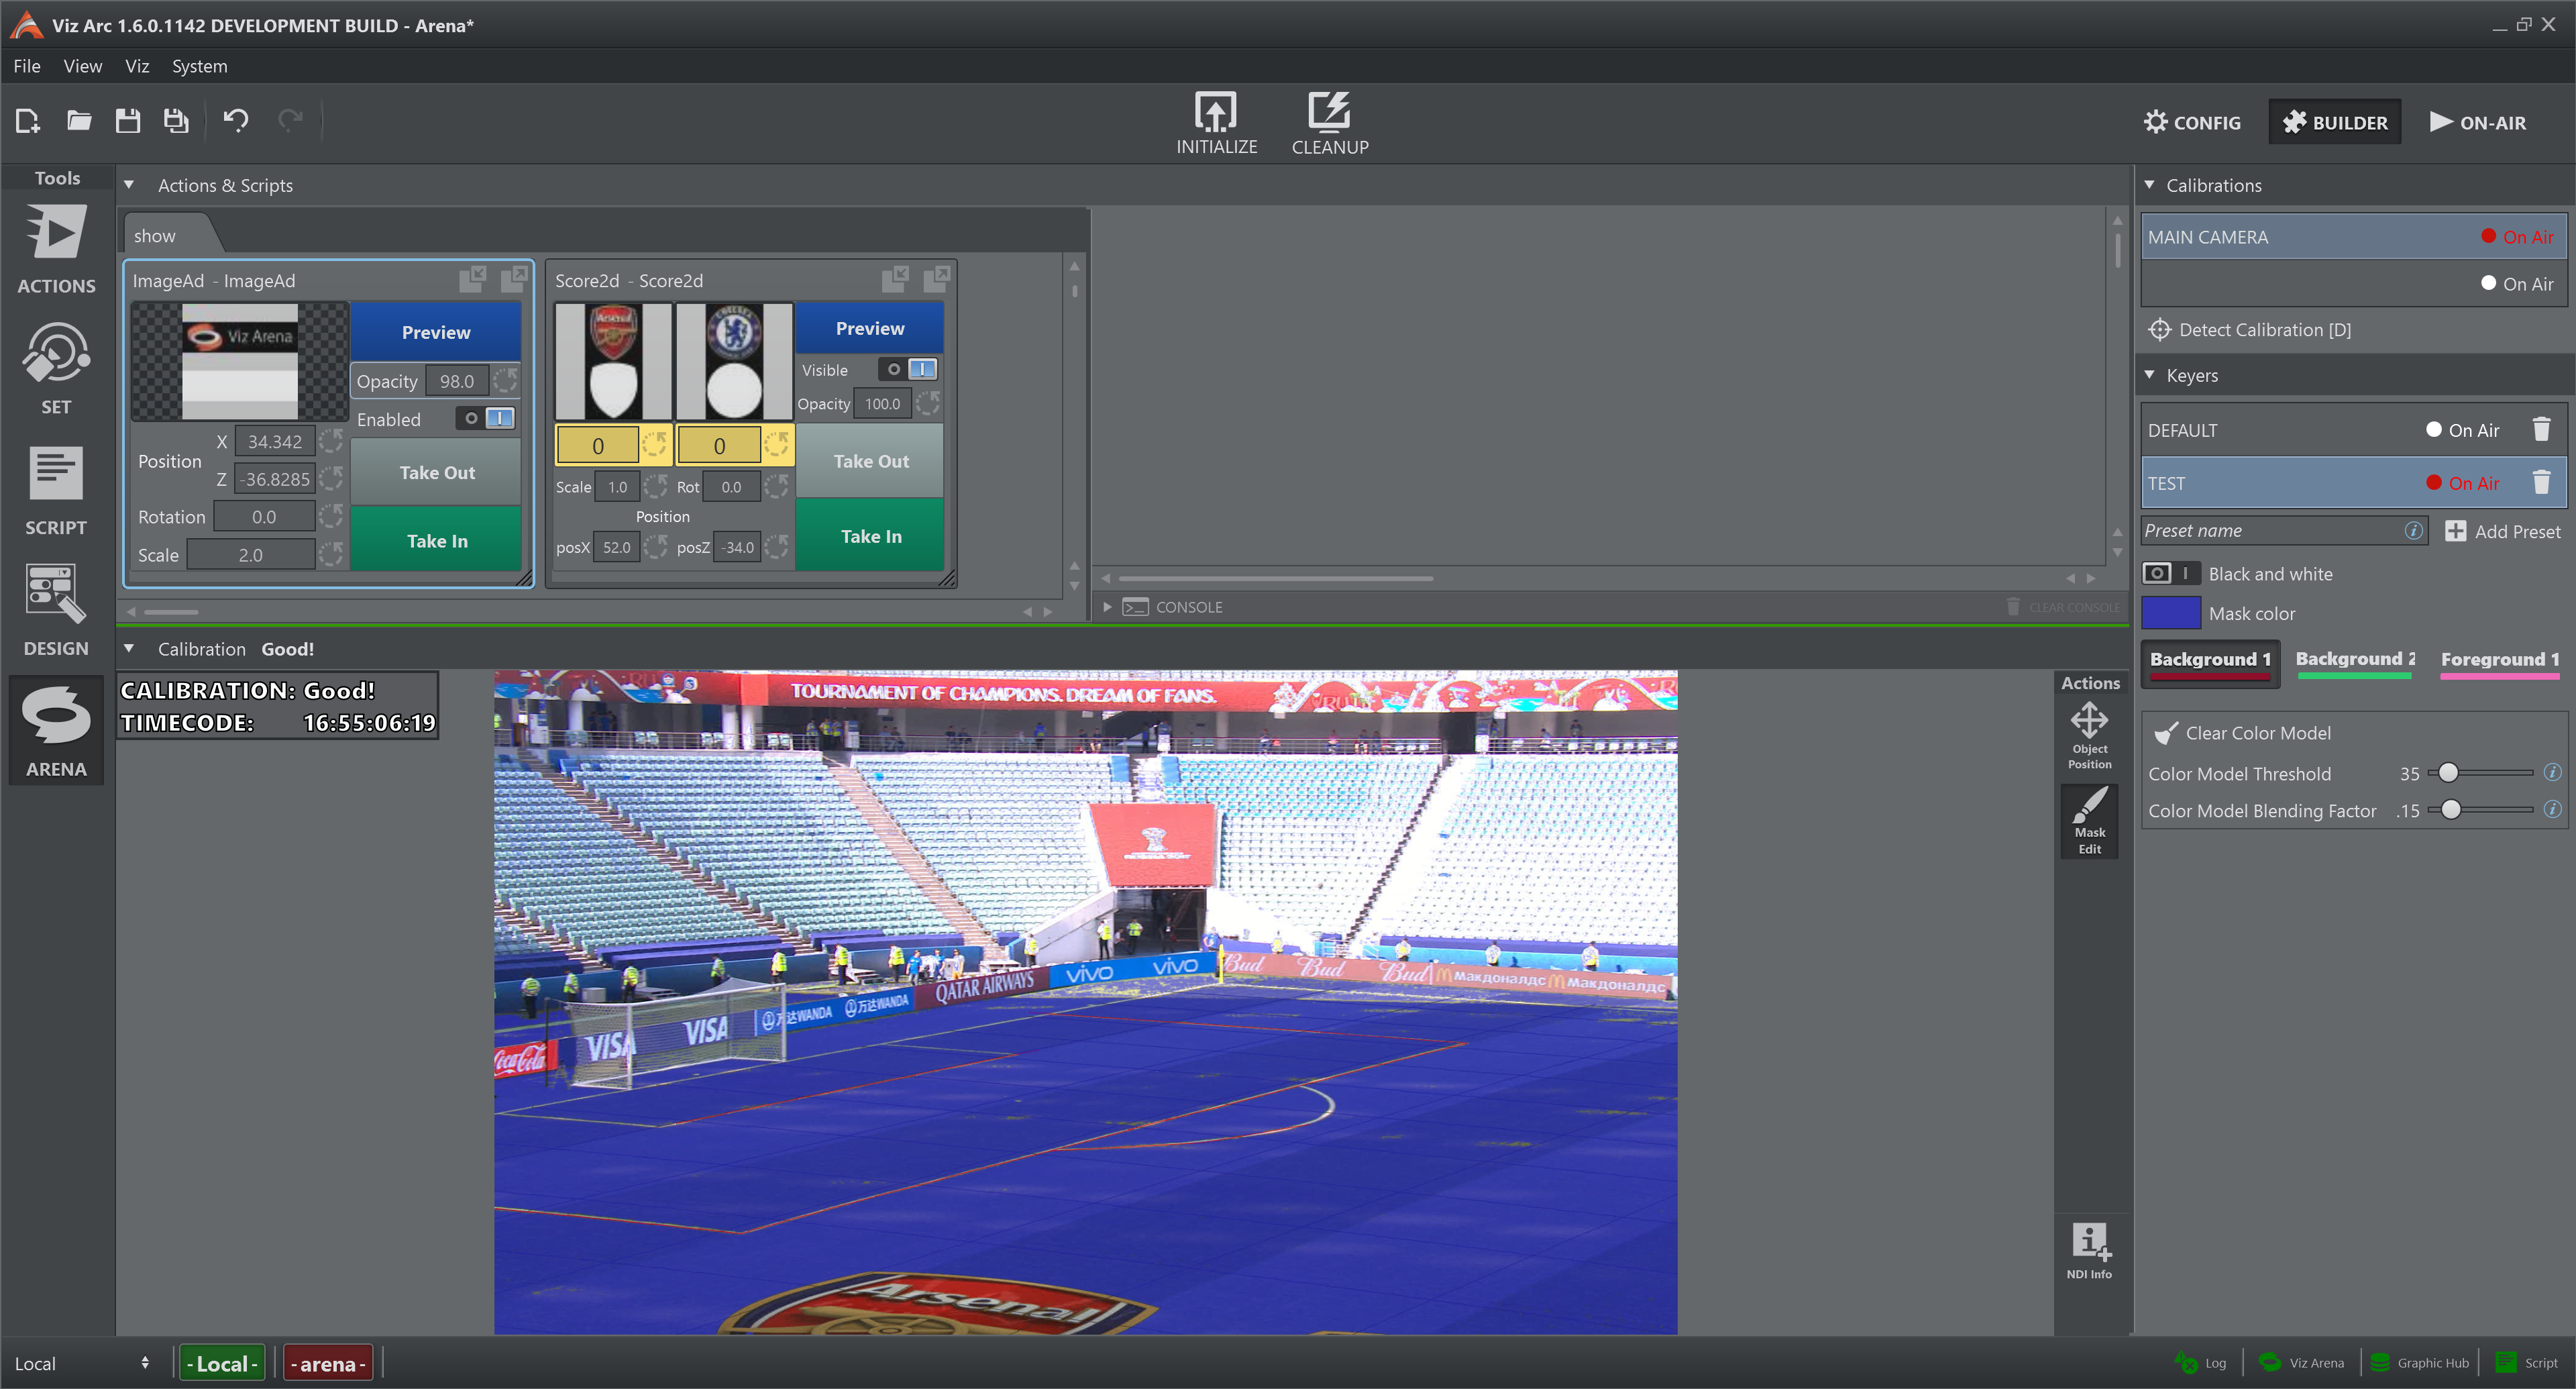
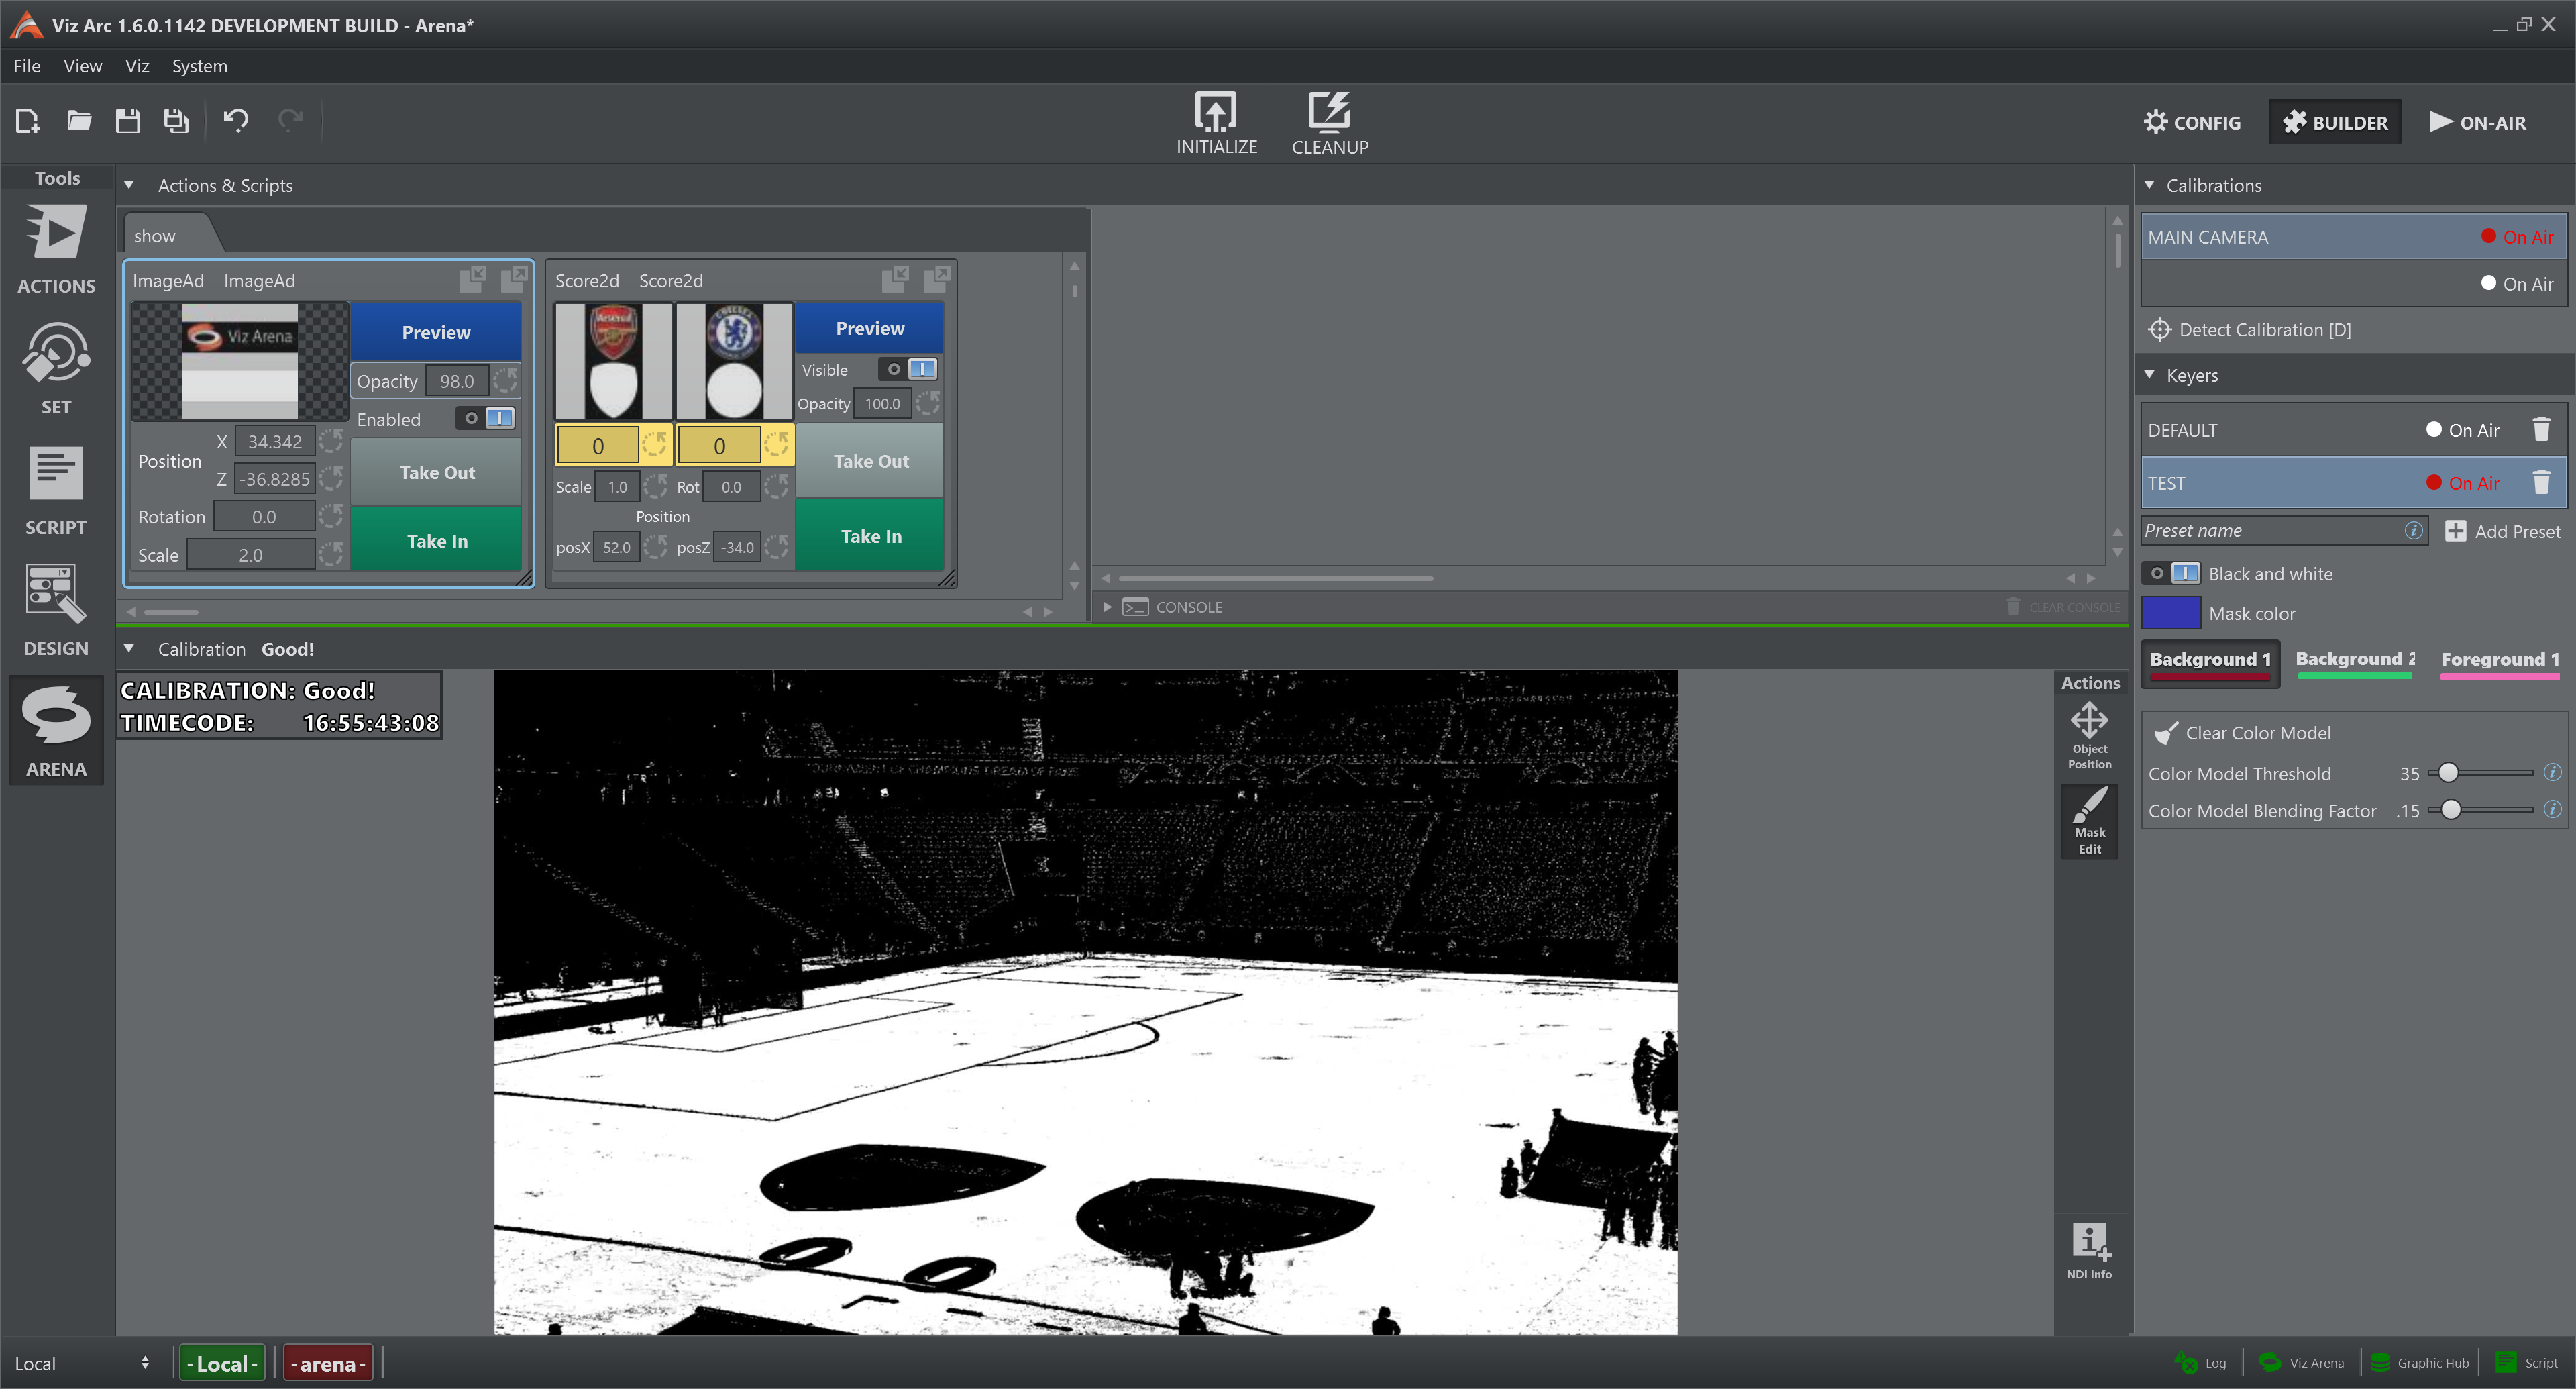
It is possible to toggle between the two modes see Settings panel > Mask > Back and White . During a live game, it is advised to regularly observe the output of the keying mask to ensure that the graphics are well rendered on Viz Engine and to provide the best possible tracking quality.
NDI Info
This button adds a new floating Info Panel to the interface.

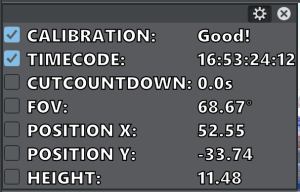
Click again on the gear  to exit from configuration mode.
There is no limit to the number of panels that can be added.
Settings Panel
Calibrations
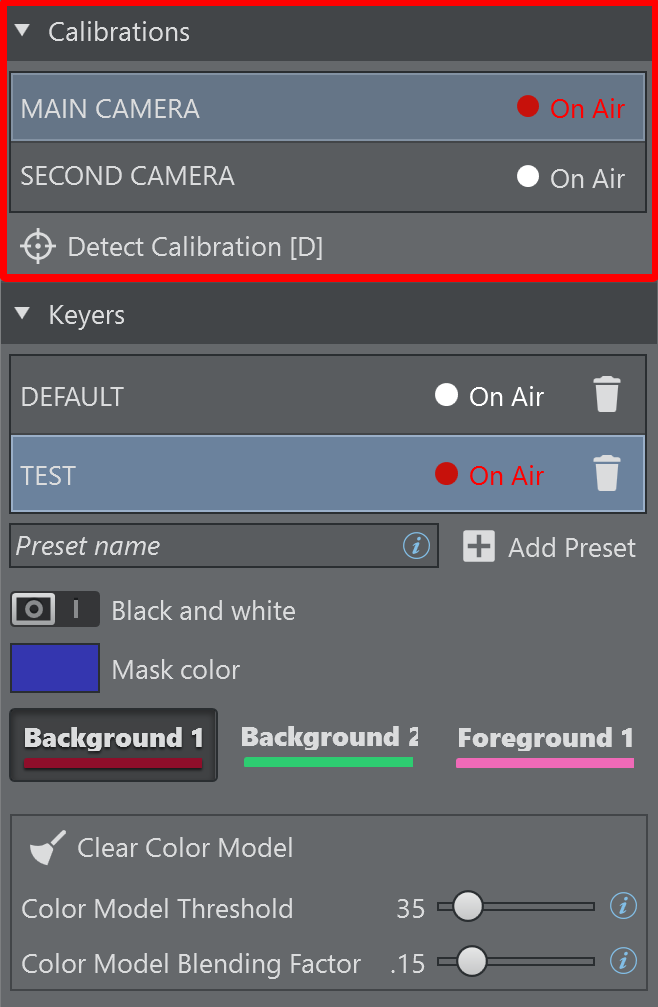
-
Select a Camera/Calibration for both preview and program feed by clicking on the calibration name.
-
Detect Calibration [D]: Detects the calibration of the current image. Click this button (or press the D button) if the tracked calibration is off from the actual field lines.
Keying Presets
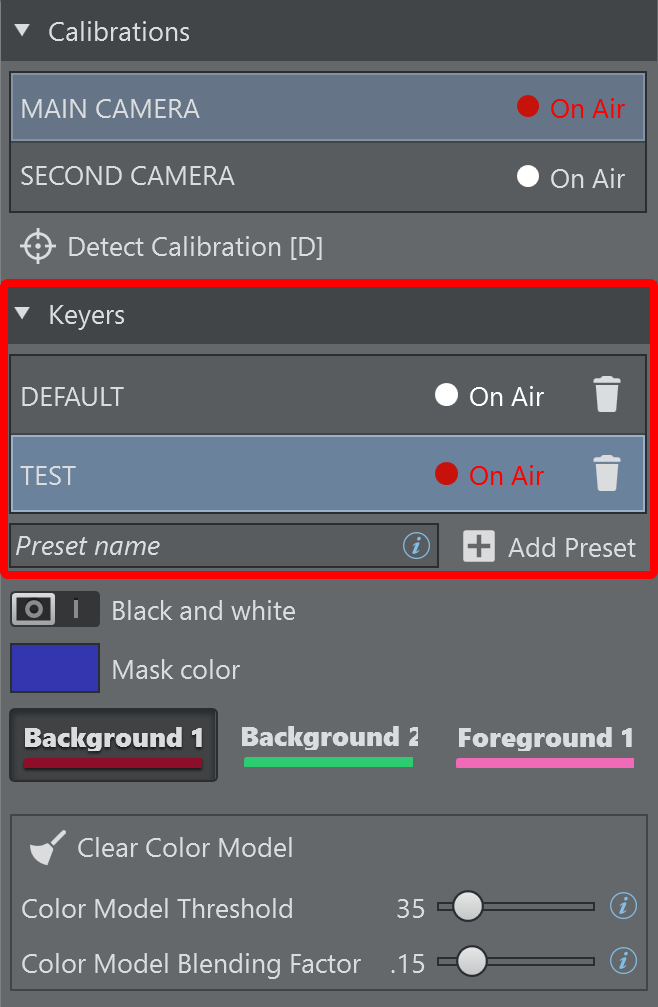
-
Select a preset for preview feed by clicking on the preset name.
-
The preset that is currently On Air is marked with a red  label.
-
If the On Air preset has any local changes that have not yet been applied to the output rendering, they are marked with an orange exclamation mark  .
.
-
Press  to update the output rendering.
-
Press  to remove the selected preset from the list. If it is the preset On Air, the button does nothing.
-
Press  to add a new empty keying preset to the list. The name is the one inserted in the text box next to the button.
Mask
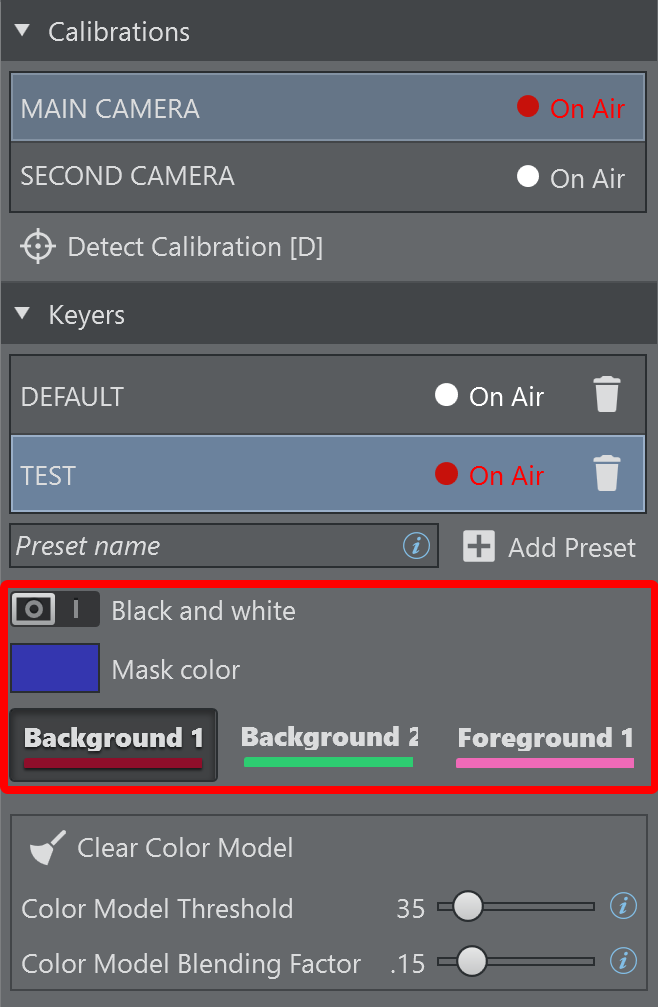
-
Black and White: Toggles the style of the keying mask.
-
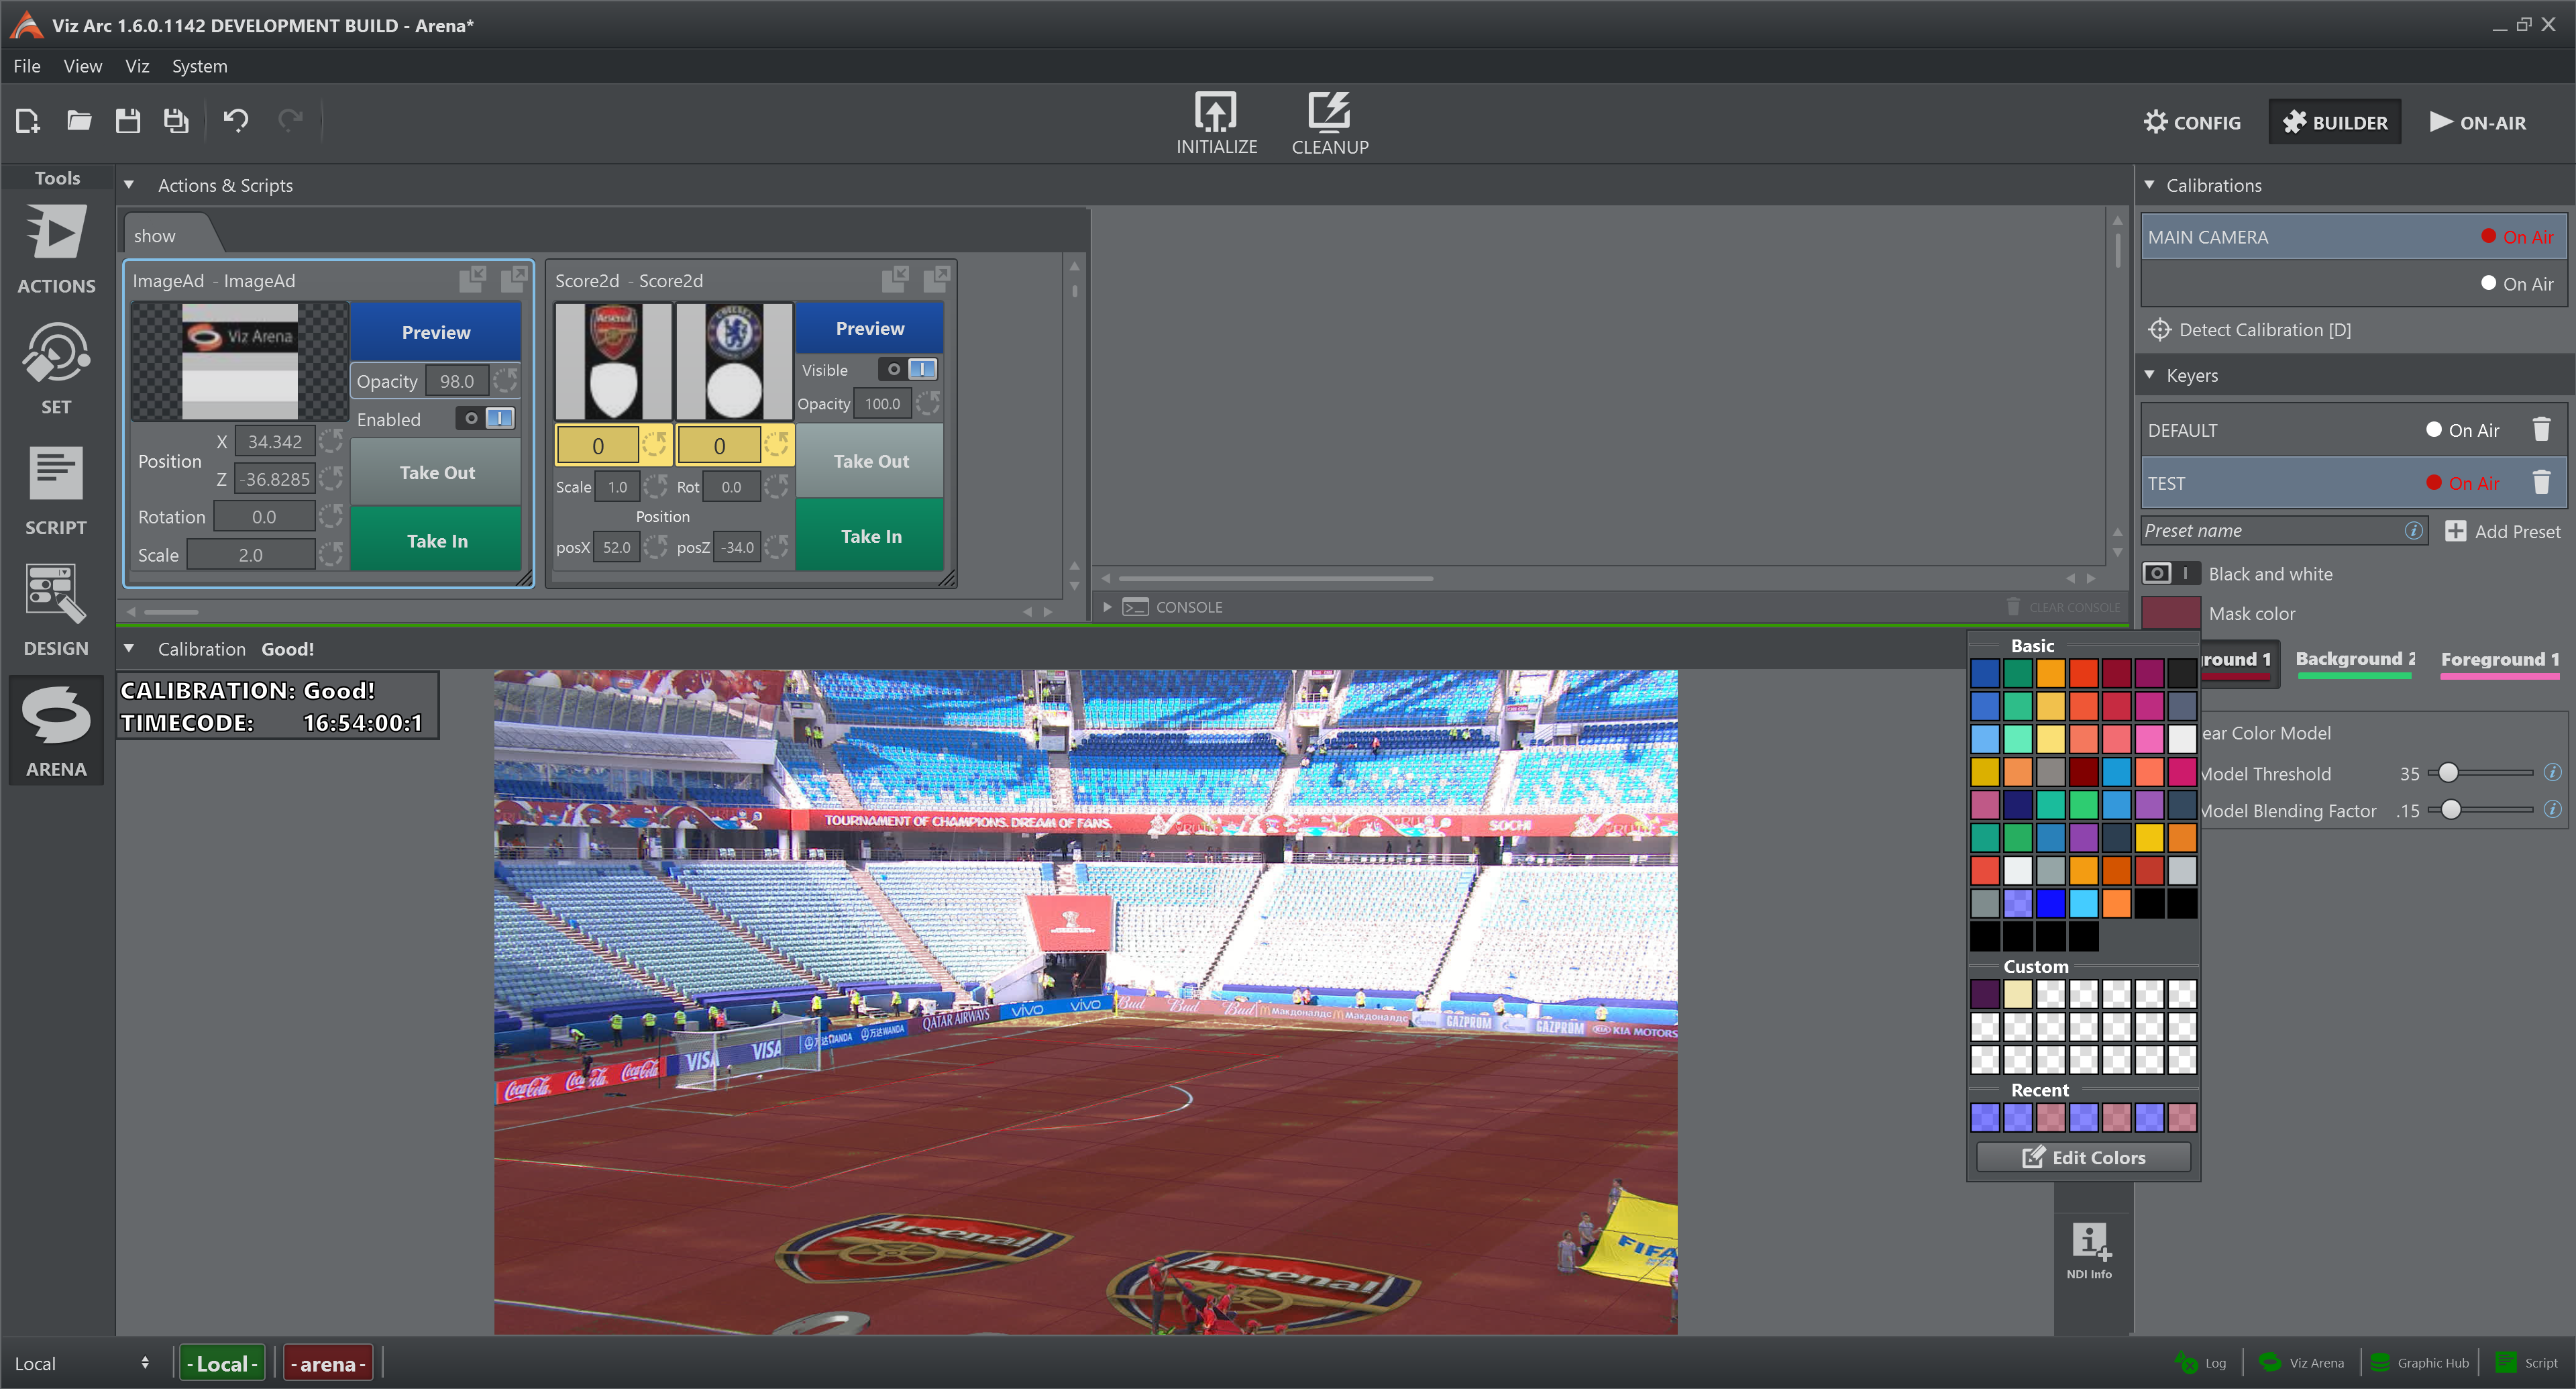
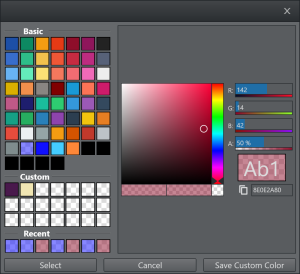
Mask Color: Selects the background keying mask color used for rendering which is most suitable for the playing field. Click on the colored rectangle and a new panel appears. Here it is possible to choose the mask color.
-
Background 1: Interacts with the background color model of the preset. Right click on the button and the color panel shows (see above), this changes the color of the stroke.
-
Background 2: Interacts with the background logo color model of the preset. Right click on the button and the color panel shows (see above), this changes the color of the stroke.
-
Foreground 1: Interacts with the foreground color model of the preset. Right click on the button and the color panel shows (see above), this changes the color of the stroke.
Controls
-
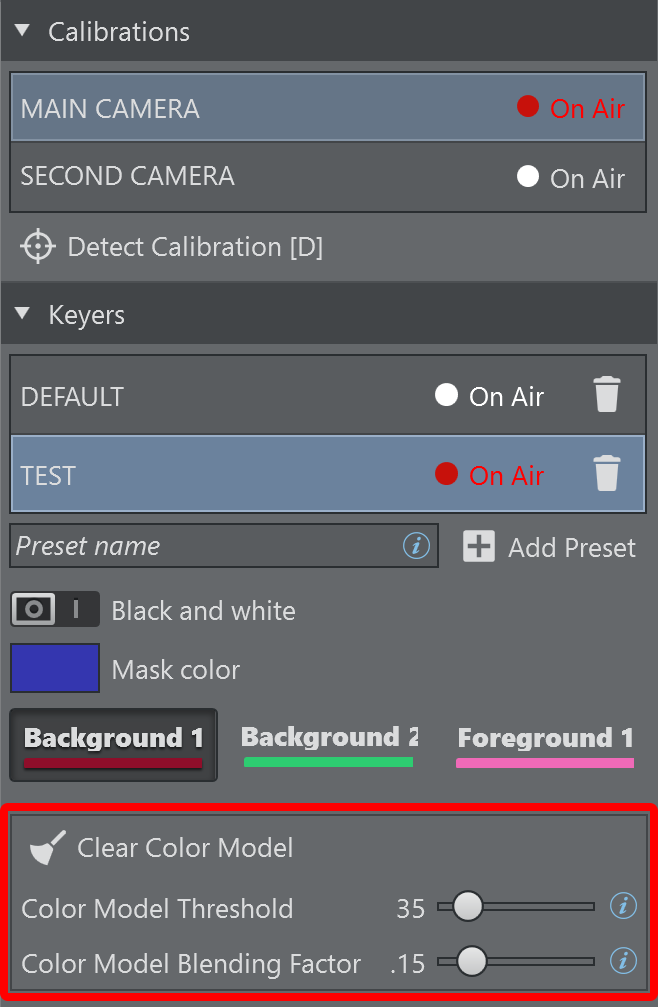
For a better understanding of each control please refer to the Viz Arena User Guide.
-
Going over  with the mouse provides a brief description of the relative control.
-
Clear Color Model [C]: Clears the stored keying information about the current preset and starts updating the color model from scratch. Alternatively, use the shortcut C on the keyboard.
Startup
Using the command line parameter --a or --arena, it is possible to start Viz Arc directly with the Viz Arena tool visible.
