Animation Store Creator
Version 1.1 | Published May 07, 2021 ©
Wipe Sequence
The details of the animation sequence used to define the transition itself are fairly similar to the material we just discussed, with a few important distinctions.
Note: This step is optional. If your overlay animation sequence completely fills the screen at any point, you can simply use the Cut Frame control to designate the frame where the change occurs. No transition sequence is required in this case.
The transition file sequence serves a different purpose than the overlay sequence does. It tells the Animation Store Creator what content will appear in each pixel of the screen at any given time during the effect.
At this point, you can supply either a black and white transition animation for simple pixel-blending effects, or a UV-map gradient animation for more elaborate effects that move and warp the video source (a suitable texture for use in warping animations is supplied in the folder at C:\...\Effects\Animation Stores\Samples).
Simple Transitions
A very basic transition created with black and white imagery behaves as follows: White pixels in a given frame define the static background layer. Source B appears wherever black pixels exist in the current frame. Pixels partway in between black and white result in overlay transparency.

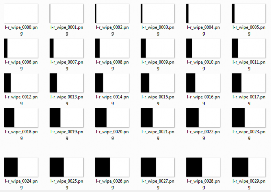
Let’s consider an example: Above, we see thumbnail icons for a black and white image sequence prepared to define a simple transition. As you can see, the first frame is white. The black section of each frame ‘grows’ from left to right as the sequence progresses.


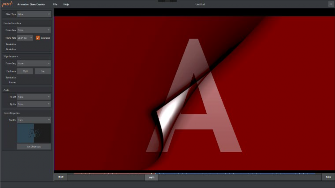
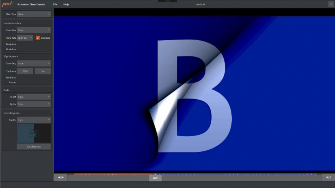
For this sort of effect, the Effect Type option is set to Wipe. The canvas shows a frame about halfway through a transition. This shows the outcome at that frame as the transition sequence wipes the incoming source B over source A, which is already on the screen as the transition begins. Applied to a DSK or Overlay channel, this simple Animation Store can be used to reveal a lower third type title, or as a full screen wipe.