This section provides the steps to configure a TriCaster Vectar dataset, using Datalink.
Datalink in TriCaster Vectar allows live data input from a wide range of data sources, such as:
Daktronics devices
DSI devices
Nevco devices
OES devices
Ranbow devices
Translux devices
Whiteway devices
Access to all external databases (anything supported by ODBC).
All sorts of internal clocks.
External CSV files, Excel Files, Text files and XML files.
Web based score controllers.
Web page real-time updates.
The data is available in a TriCaster Vectar system, therefore, it can be used in Datacenter datasets.
Configuring a TriCaster Vectar dataset requires the following steps:
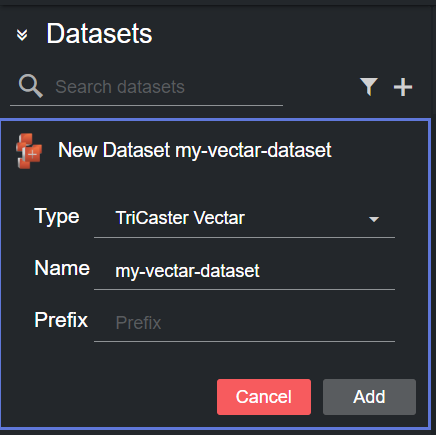
Create a new dataset of type TriCaster Vectar, specifying a name and (optionally) a prefix to use to identify the dataset and its values:
Click Add. The dataset is added to the list, and it has an initial WARNING status as it contains no source file yet.
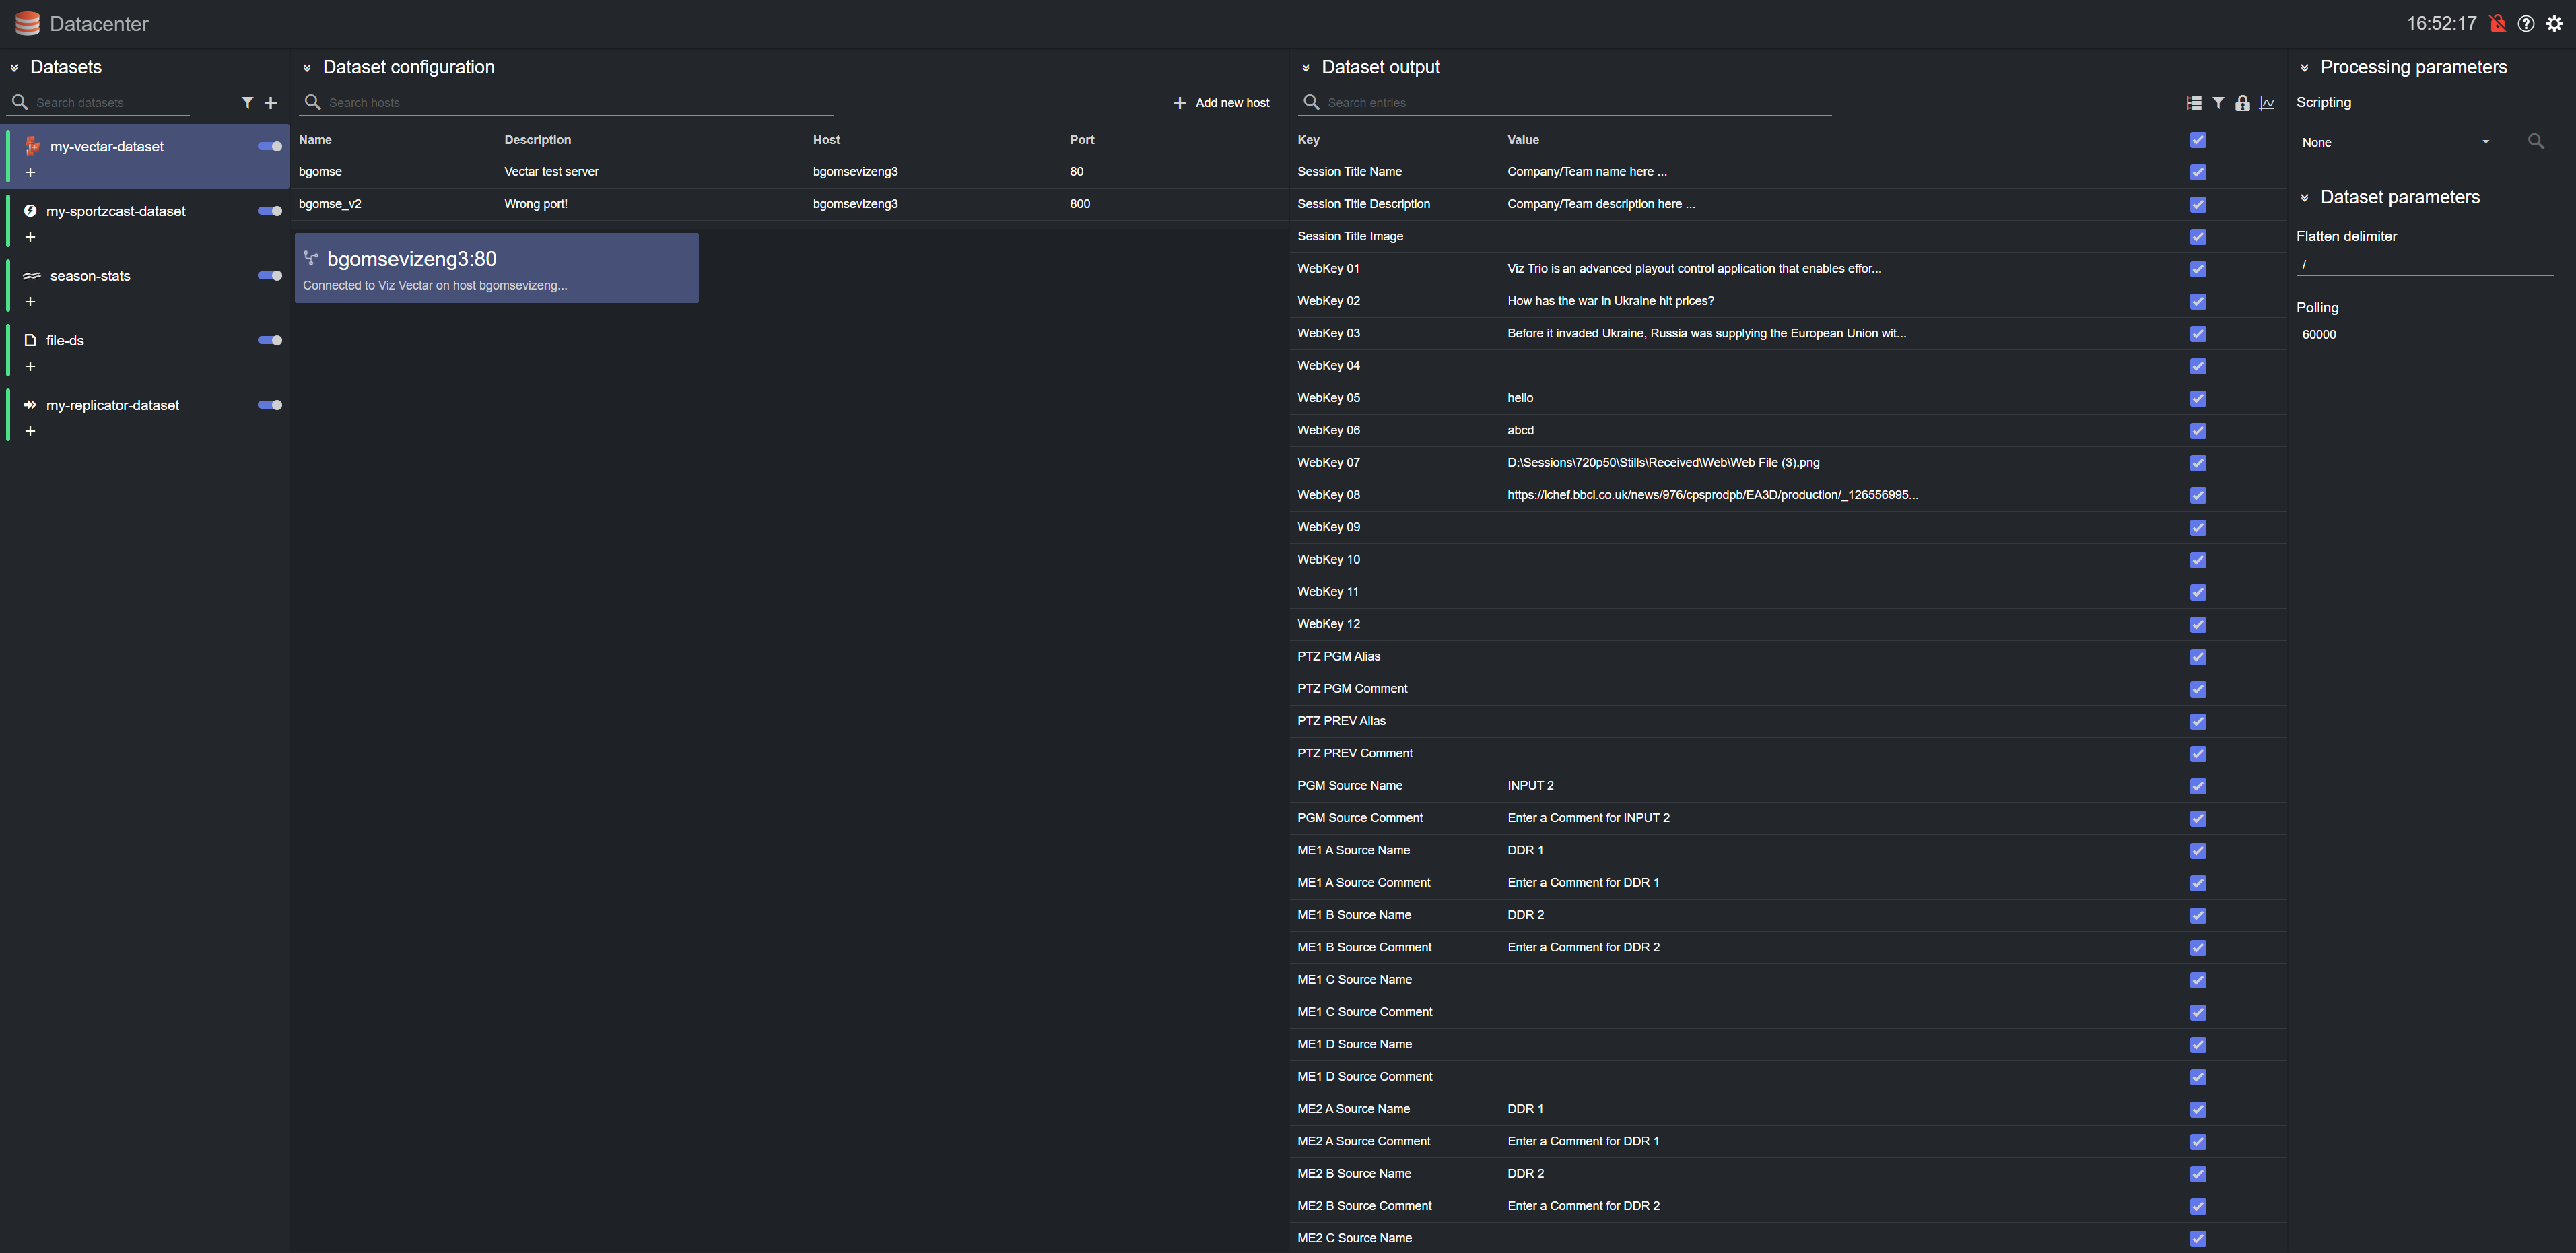
You can now select a host from the table in the Dataset configuration panel by double clicking a row. The table lists all the recently used hosts.
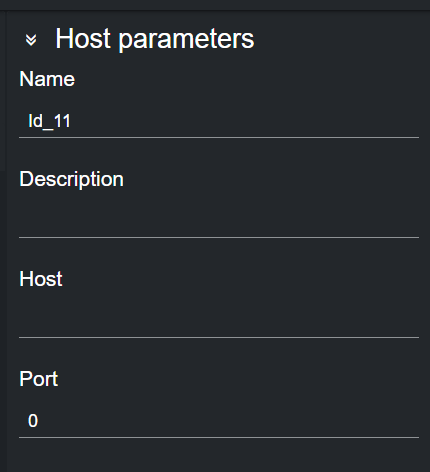
Alternatively, you can add a new host by clicking on Add new host on the right-side of the panel, and then clicking on the empty host that is added at the bottom of the table.
Doing so reveals the new host details on the right column, where its properties can be entered.
You can now double click on the configured host in the host table, to select a source.
After adding a host machine and establishing a successful connection to it, the data from the TriCaster Vectar system is added to the Dataset output table.
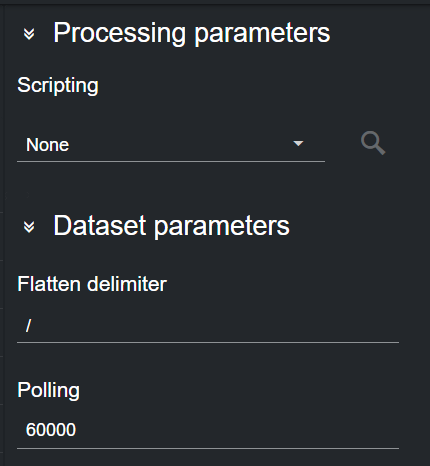
To change the polling rate (how often the TriCaster Vectar host machine is polled for data, in s) for the dataset, click on the dataset card in the Dataset configuration panel and edit the Polling field in the Dataset parameters.
Please refer to the Filtering and Manipulating a Dataset Entries page to learn how to enable, disable and edit the entries added.


